LEGO harpsichord
Click here to see a harpsichord built entirely with LEGO parts!
posted by Angela at
1:04 AM
1 Comments
![]()
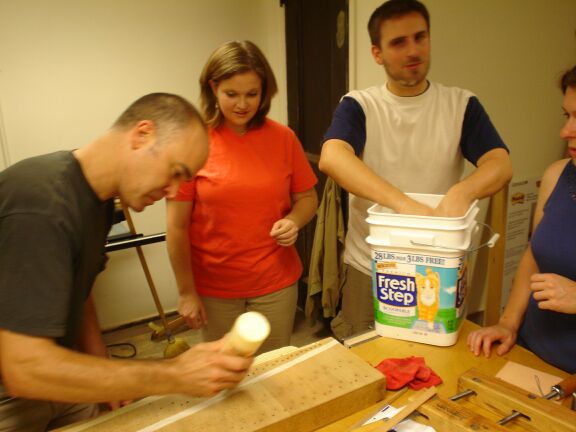
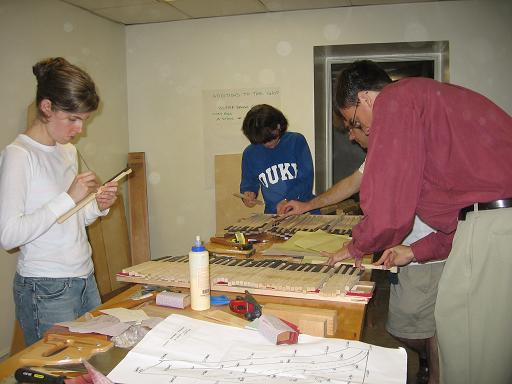
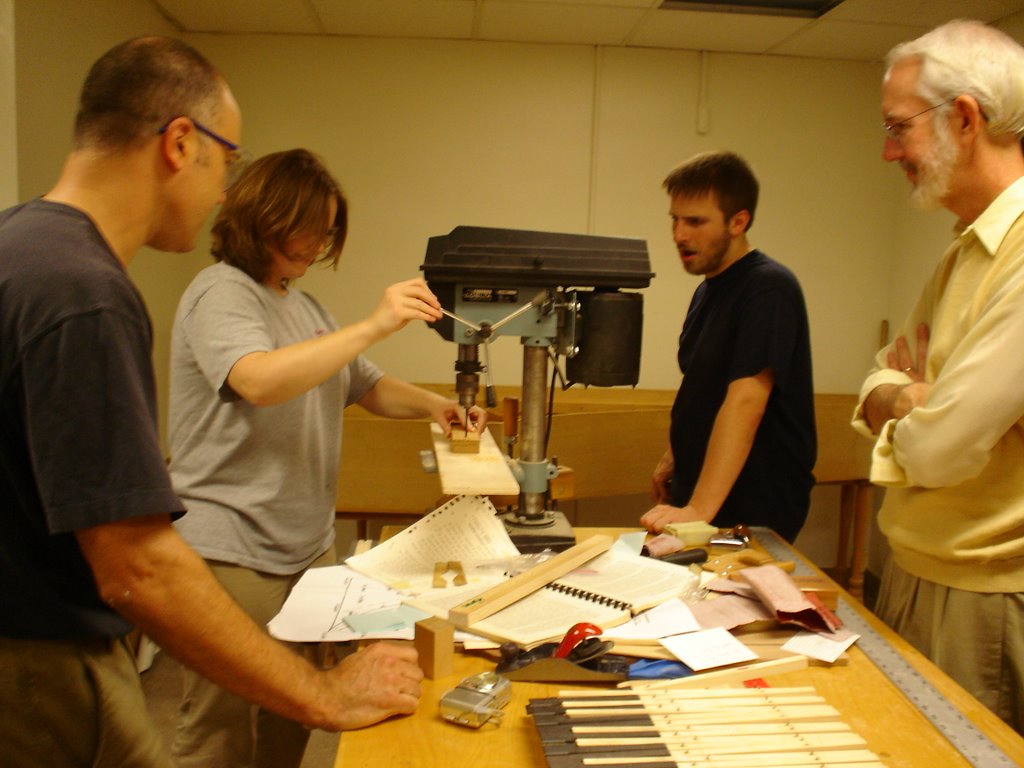
Grad students at Duke University convene to build an 18th century French double manual Hubbard harpsichord kit.
posted by Angela at
1:04 AM
1 Comments
![]()

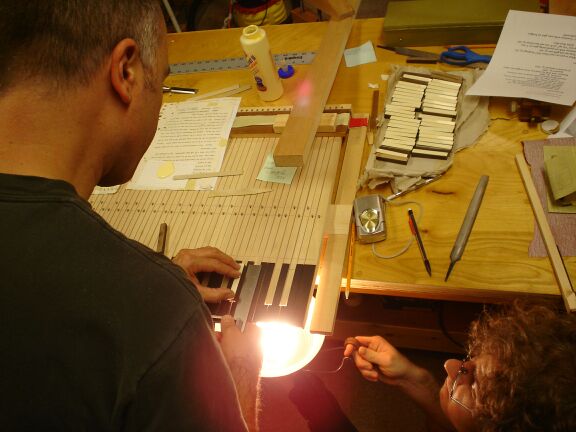
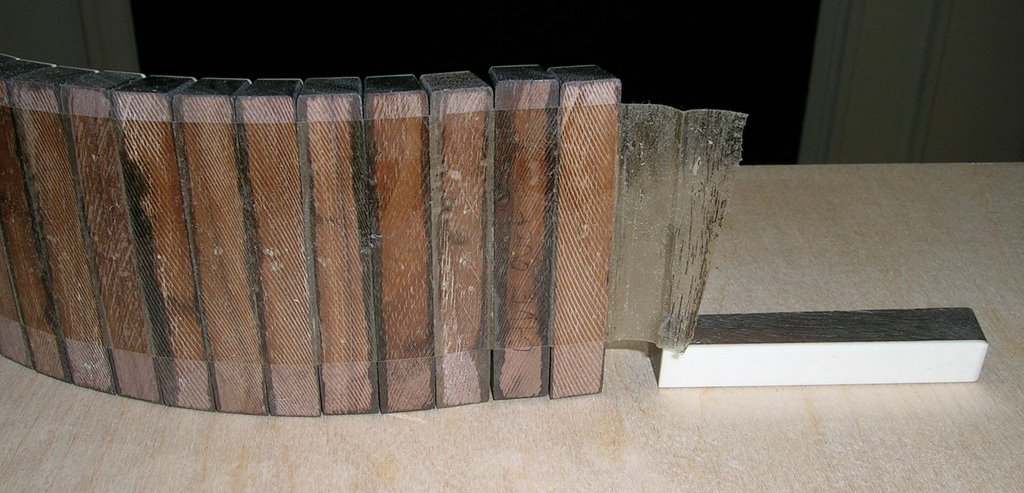
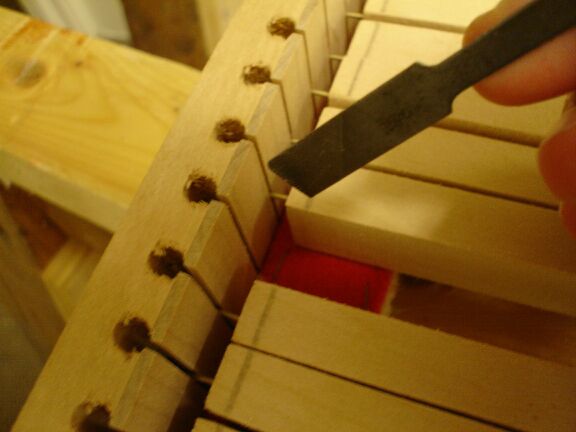
Paul continues to work on the keys. Here he is filing off the slight excess on the sides of the arcades.

Attaching the sharps goes fairly quickly. Again, with just the right amoung of glue, Angela positions the sharps onto the key levers. Once the glue has dried, the sides will be cleaned up as needed. The lower manual is nearing completion!

posted by John S at
1:06 PM
0 Comments
![]()


posted by JW at
11:54 PM
0 Comments
![]()

posted by Angela at
8:04 PM
0 Comments
![]()


posted by JW at
1:00 AM
2 Comments
![]()
 l around the edge of the rose to make up th
 e difference.
posted by John S at
4:59 PM
0 Comments
![]()


 Hi all! I thought it was about time I contributed some of my pics of what we've been doing in class and on our own. What we did yesterday was great! I actually got to saw out the hole for the rose!!! Yes, there is now a big hole in our beautifully planed soundboard. It's a little bigger than it was supposed to be, but that's ok. We can make it work! We were working on the nuts too, but they aren't quite done.
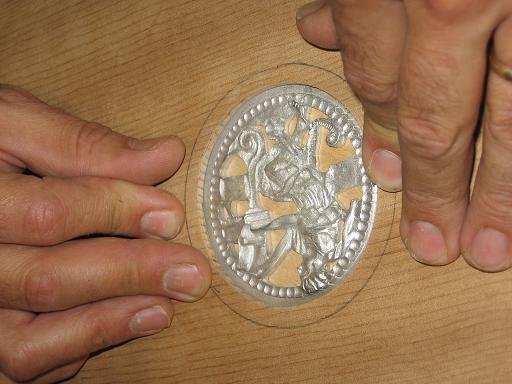
Elizabeth and Roman put the nuts in place. A close-up of the rose. Isn't it lovely??
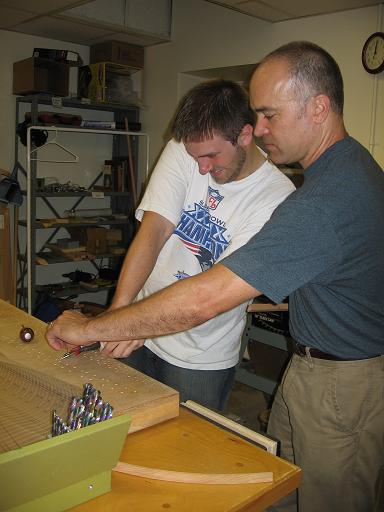
Look! The rose! John is helping Roman nip off nails to hold the nuts in place.
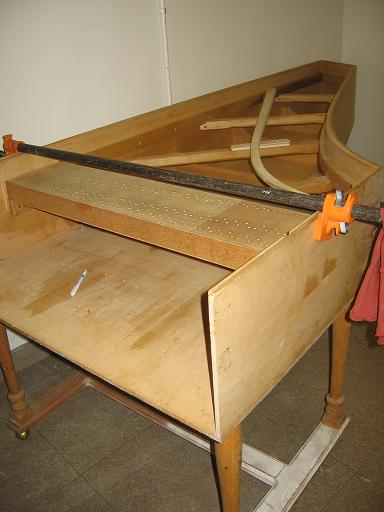
Here is the harpsichord with the soundboard in place. How pretty!
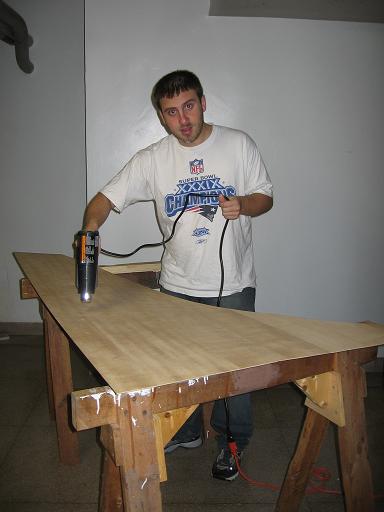
Here is the harpsichord with a bunch of new stuff added, and Roman blowdrying the soundboard to shrink it into place!
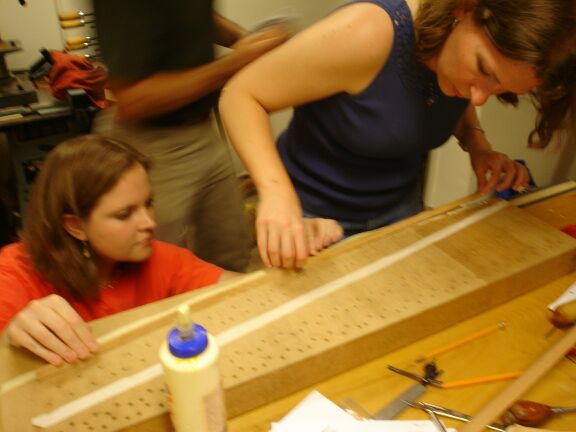
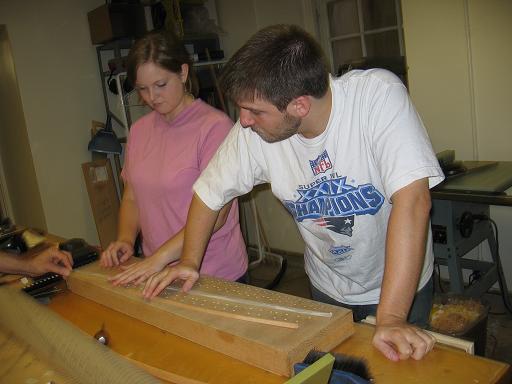
Here are a few of us working on the keyboards.
posted by Karen Cook at
9:35 AM
1 Comments
![]()


posted by Angela at
8:33 PM
2 Comments
![]()
posted by John S at
10:07 AM
3 Comments
![]()

posted by Angela at
11:26 AM
1 Comments
![]()
posted by JW at
11:14 AM
0 Comments
![]()

Subscribe to
Posts [Atom]