Thursday, November 30, 2006

Stringing III

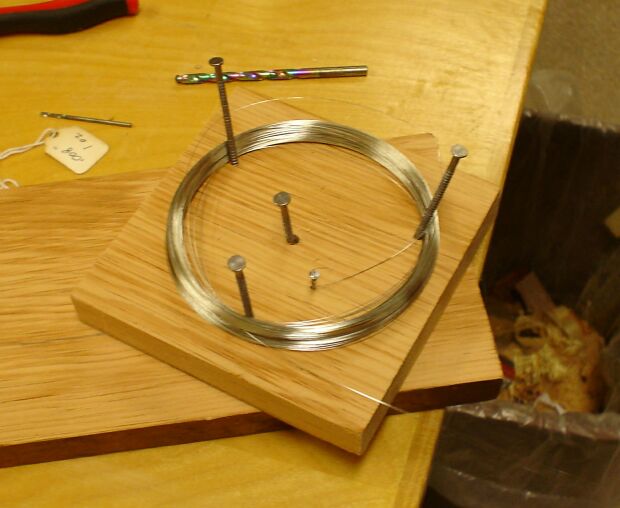
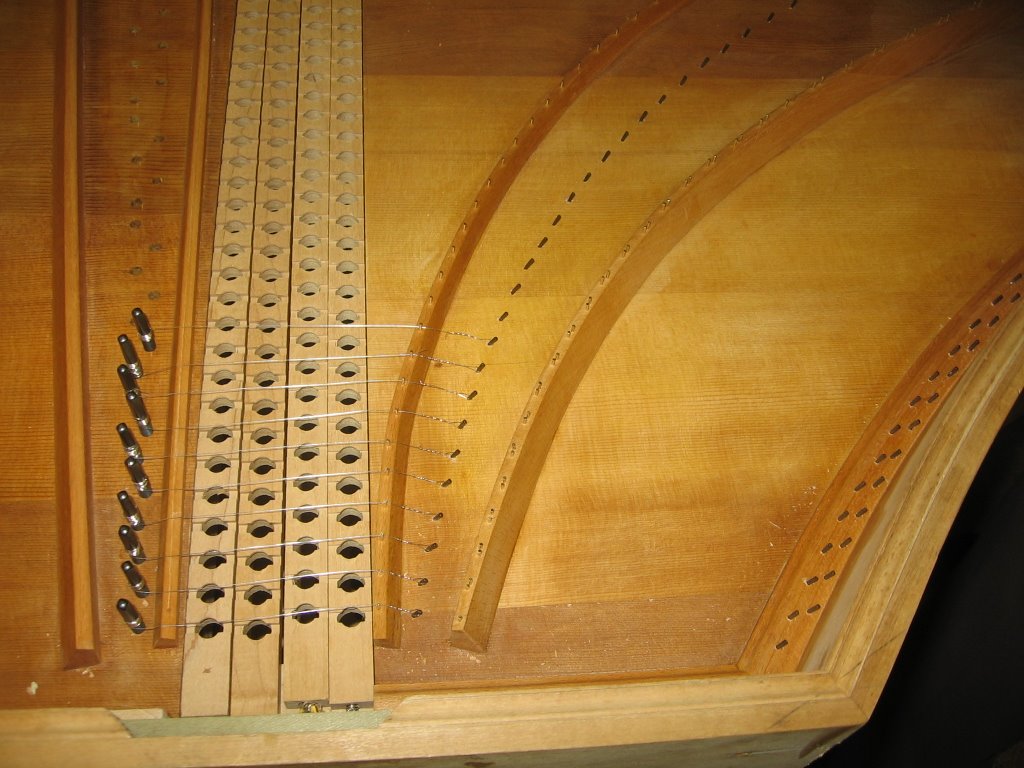
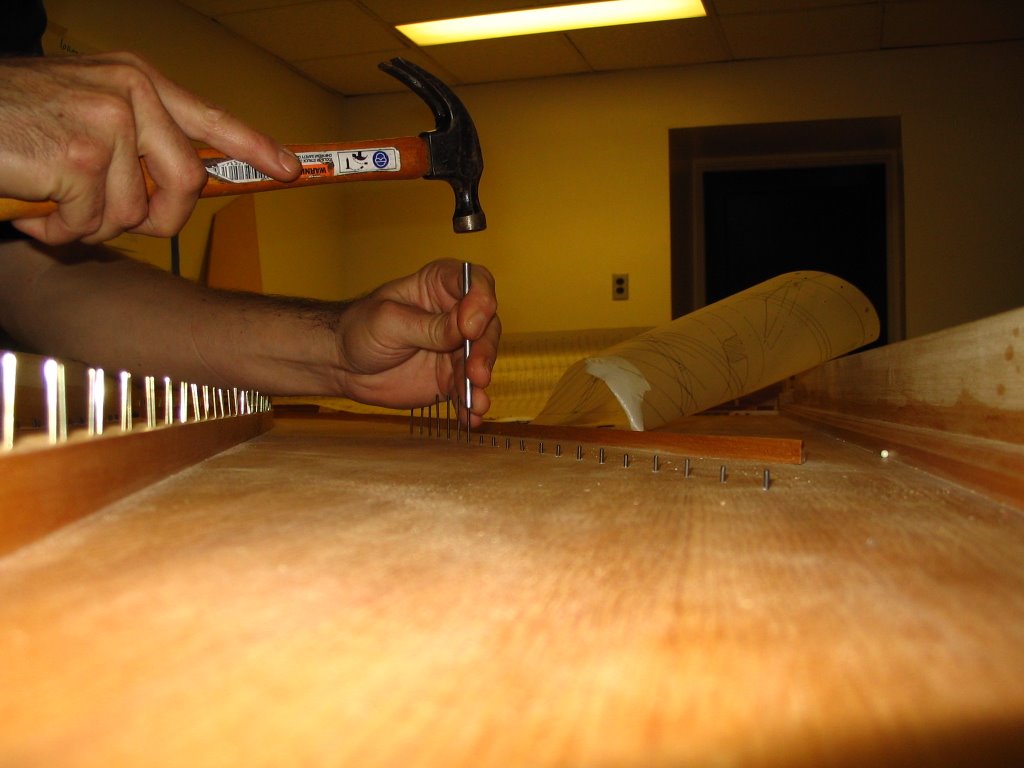
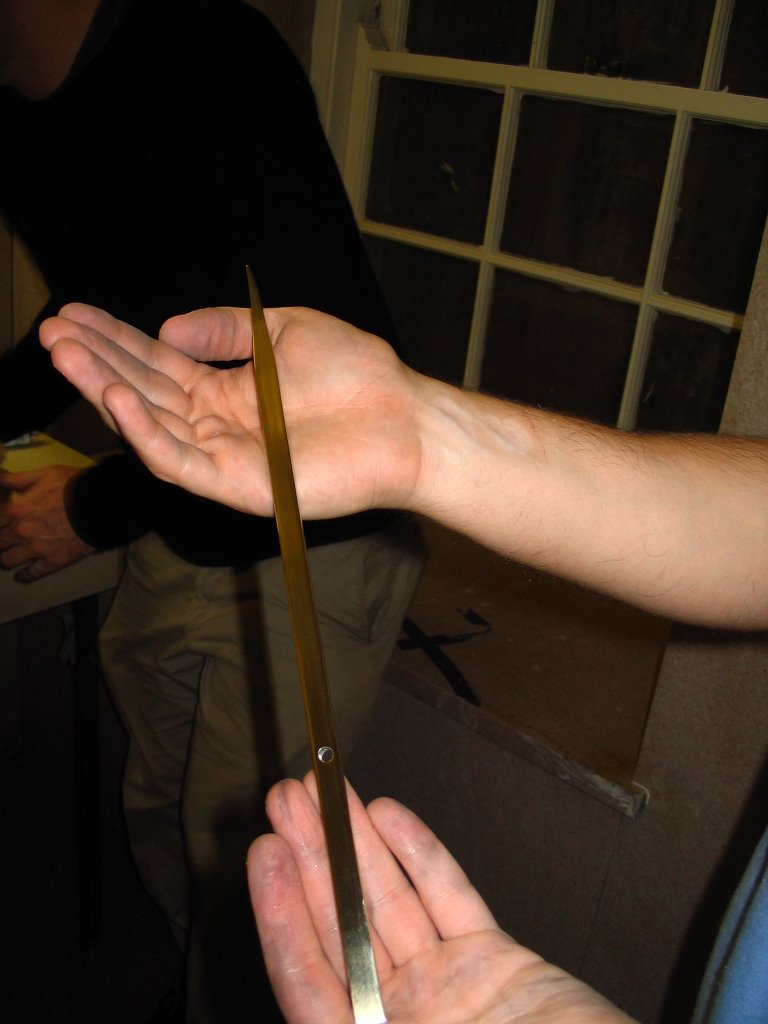
Steel wire, ready for stringing the treble end. (We're using brass in the bass.)

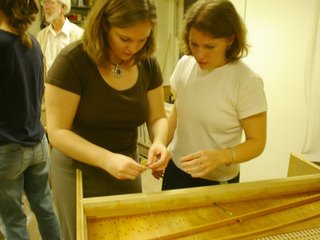
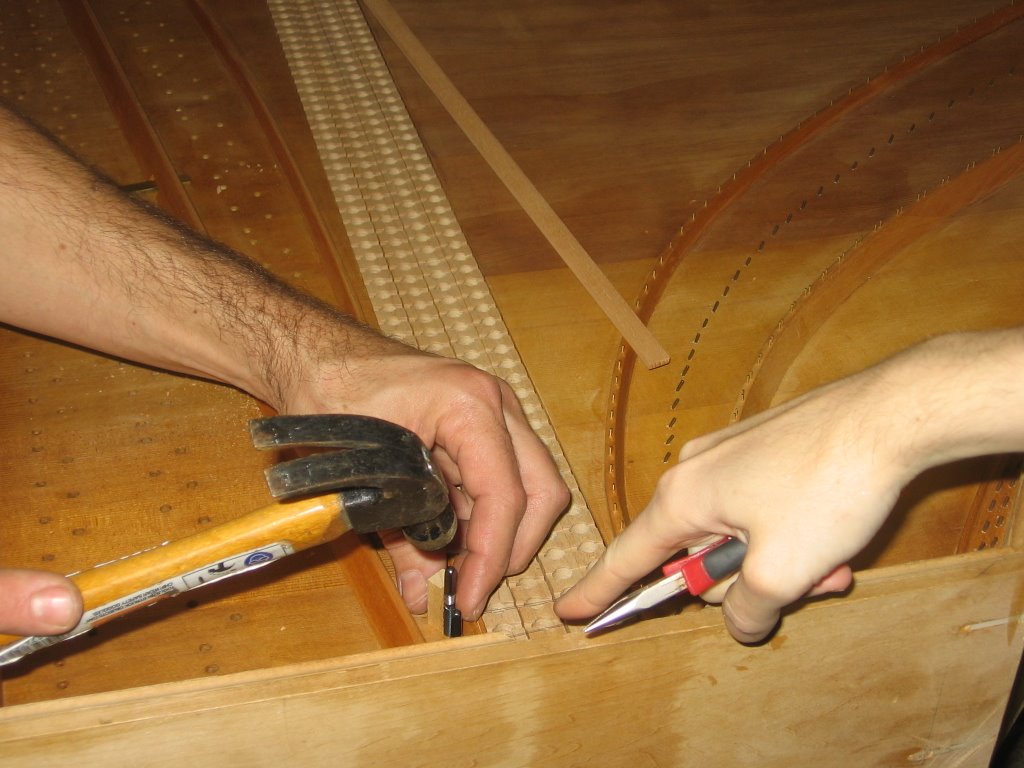
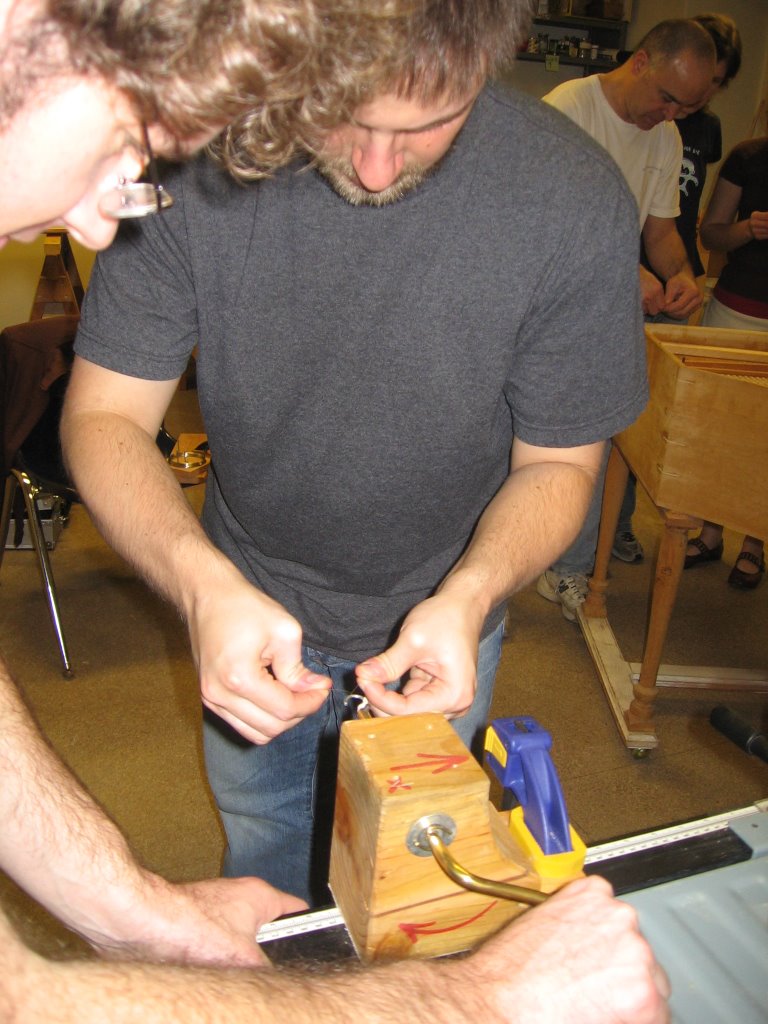
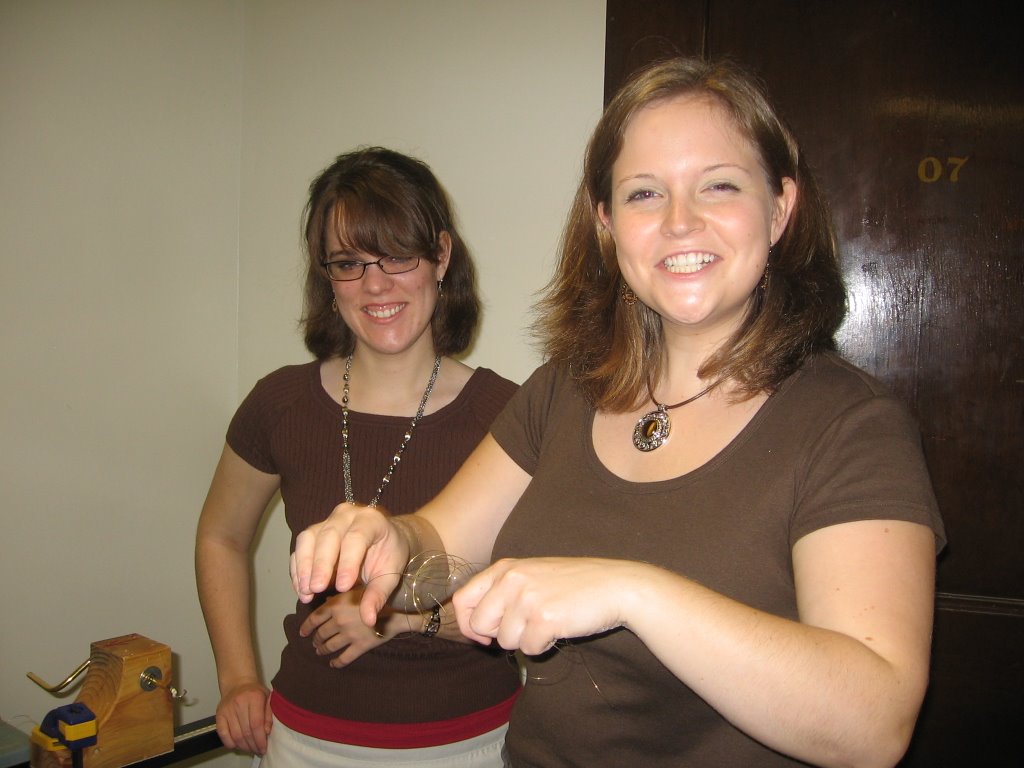
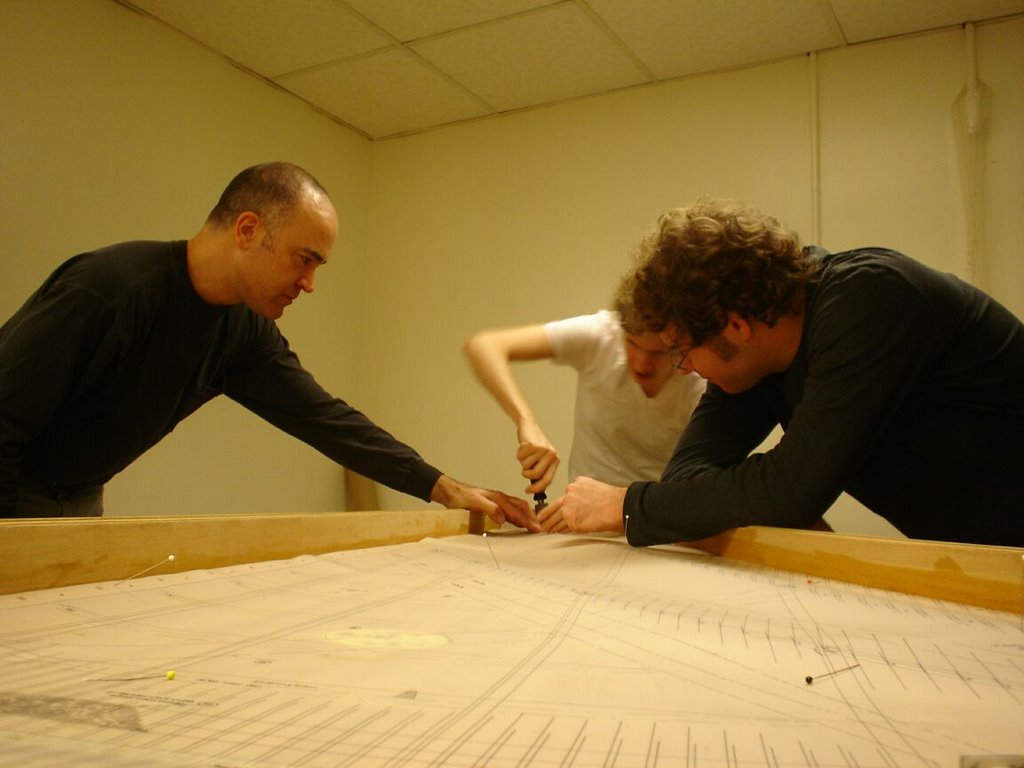
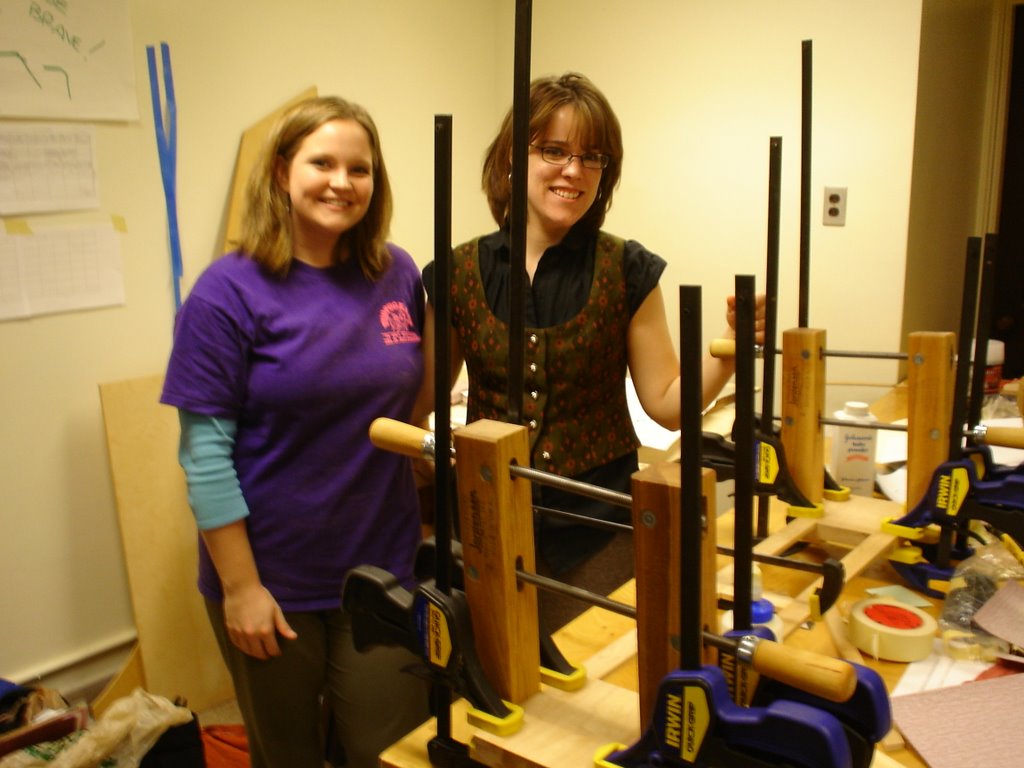
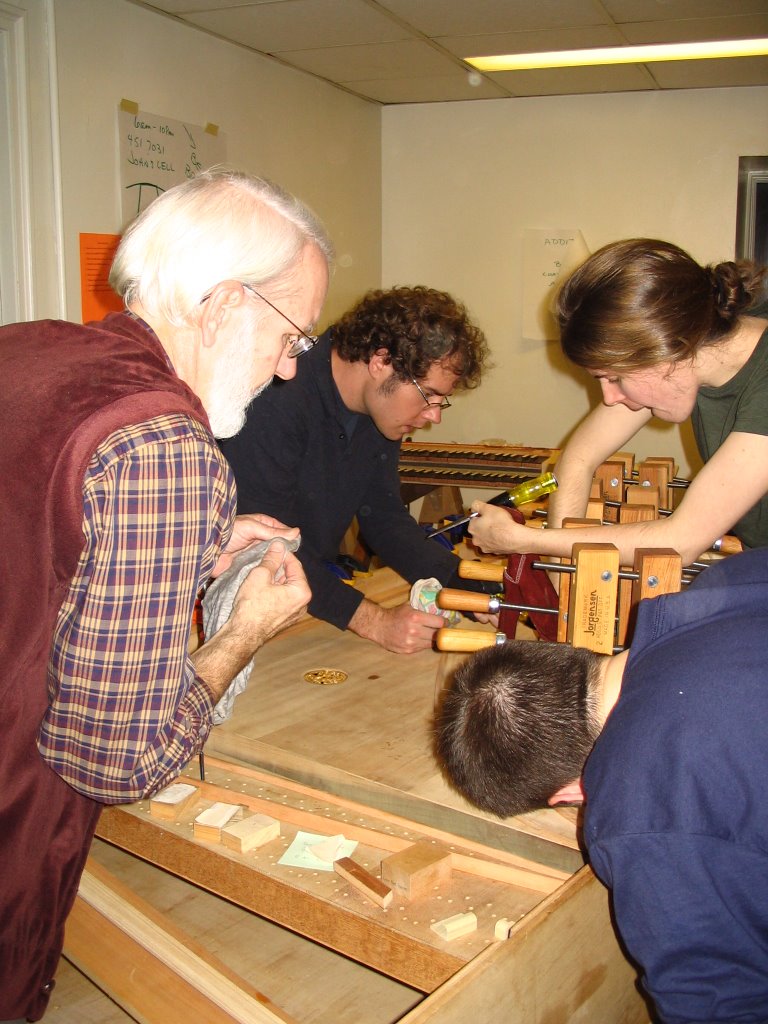
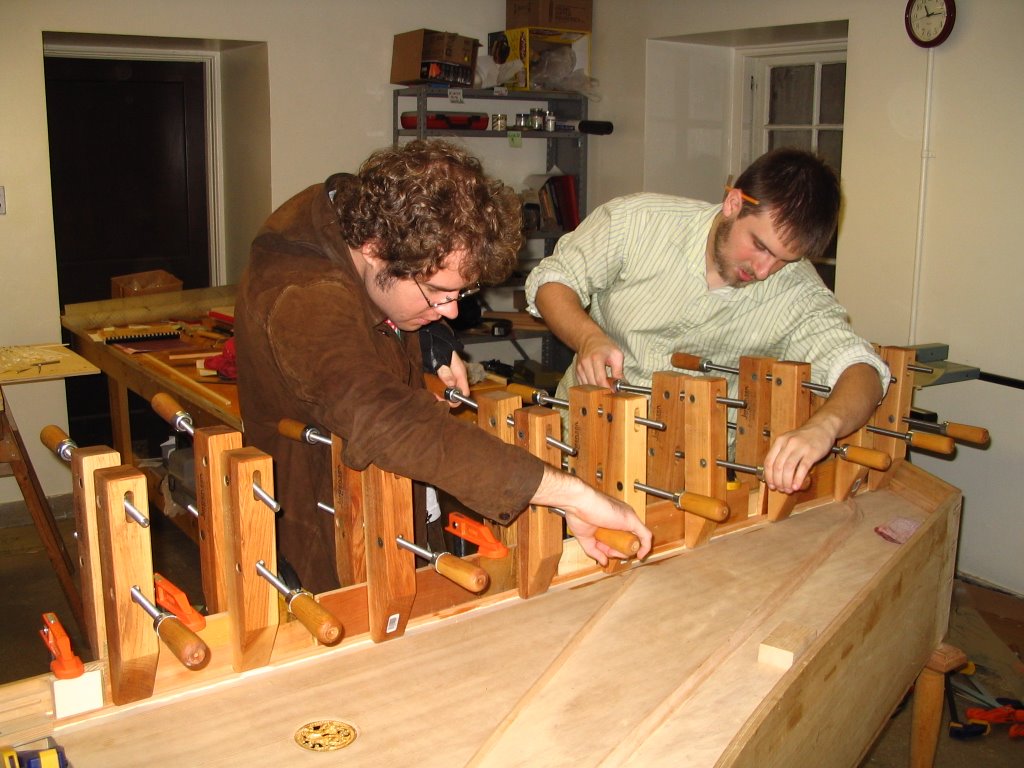
Everyone had to make a loop, attach the string to the instrument, and wind a wrestpin before we could go home! As we rotated tasks, we trained each other.

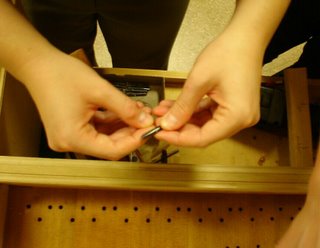
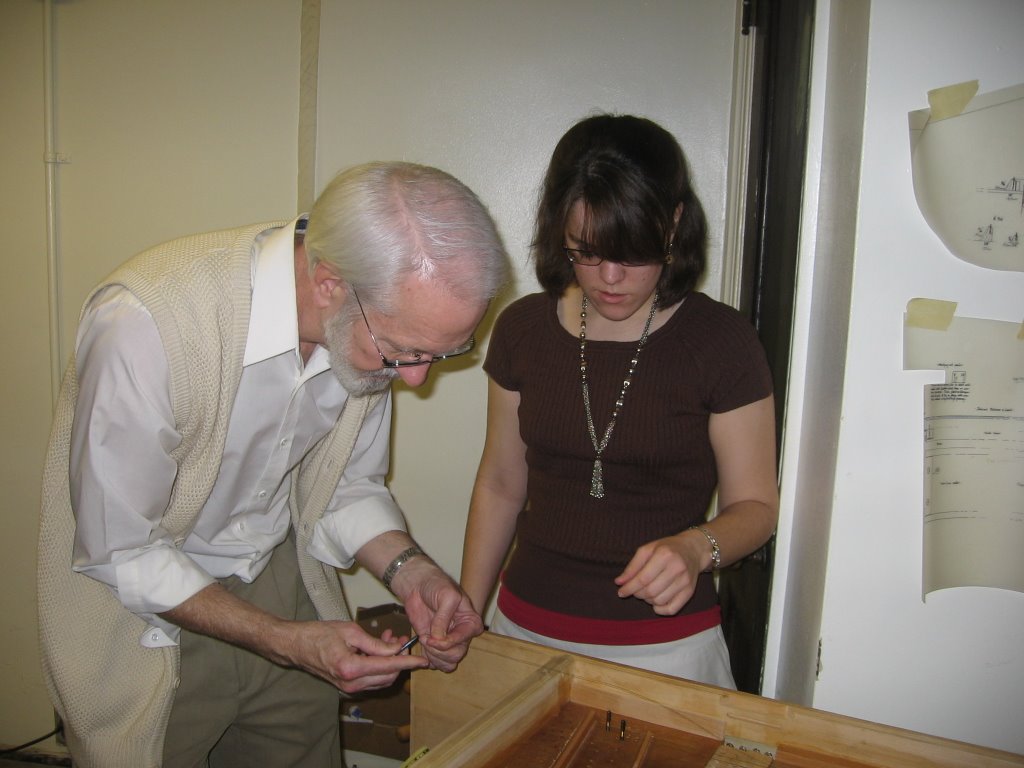
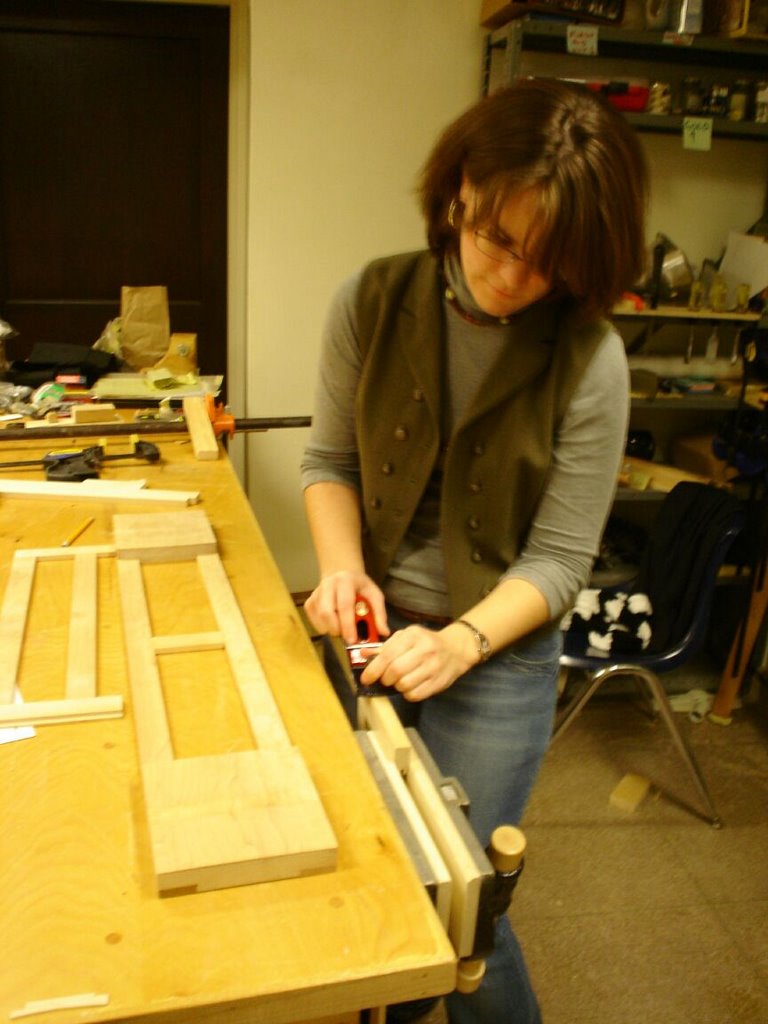
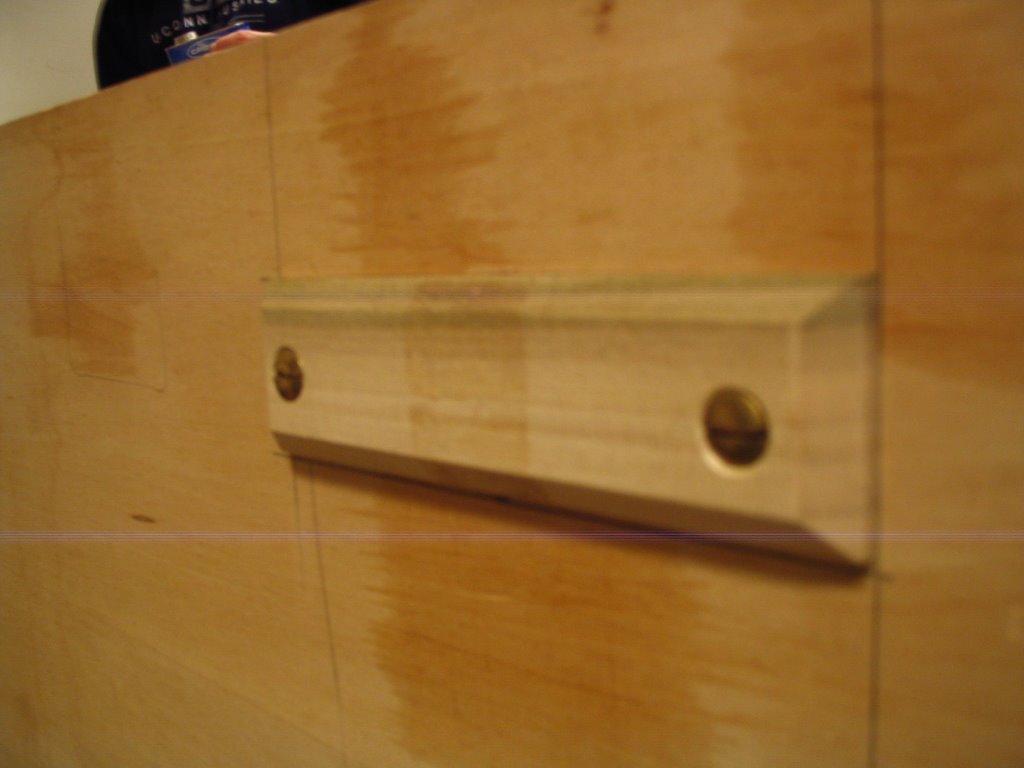
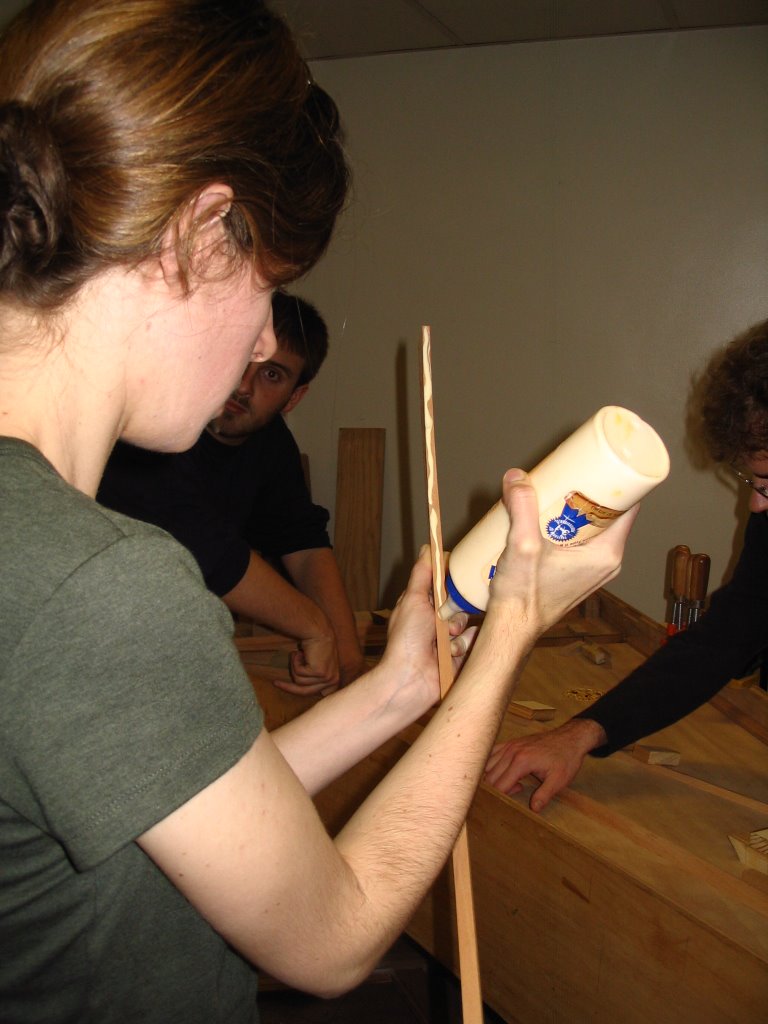
A close-up of Elizabeth winding the steel wire onto the wrestpin. The tension needs to be even so that the wire doesn't slip down the pin, and the wire can't be allowed to overlap on itself.


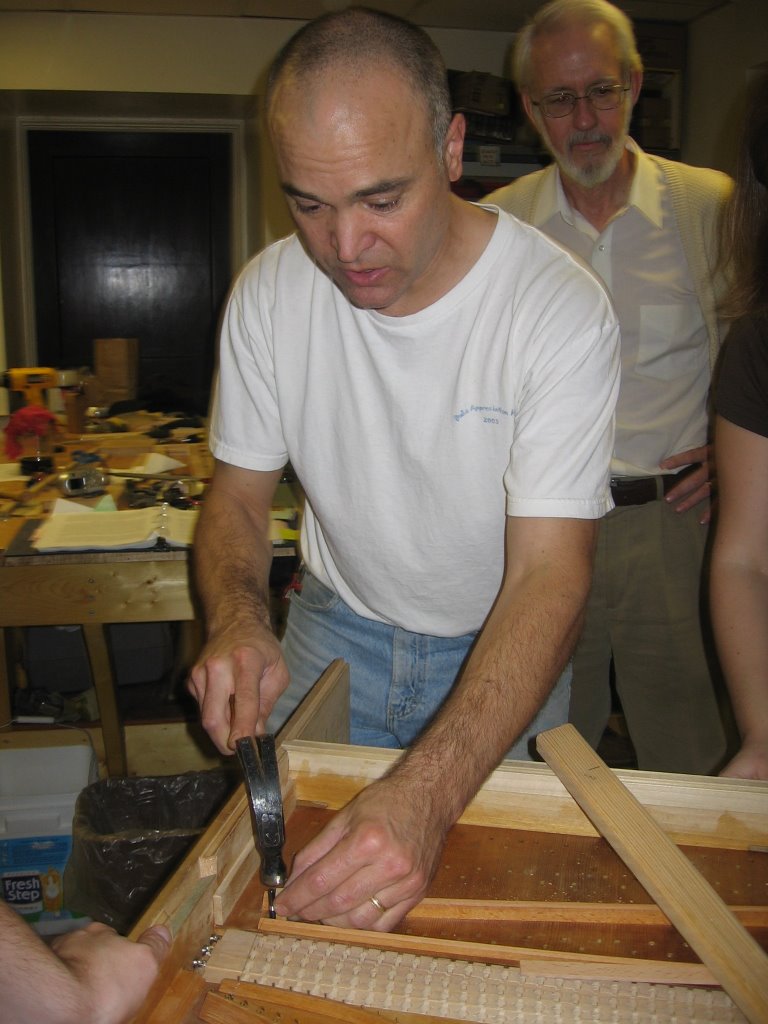
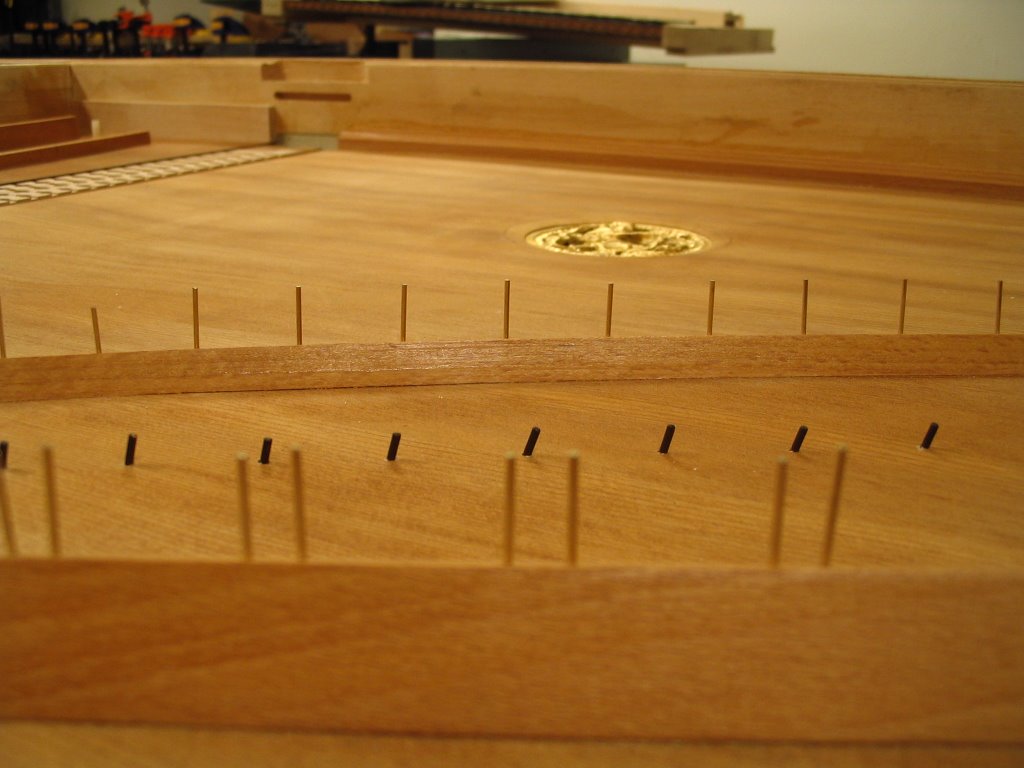
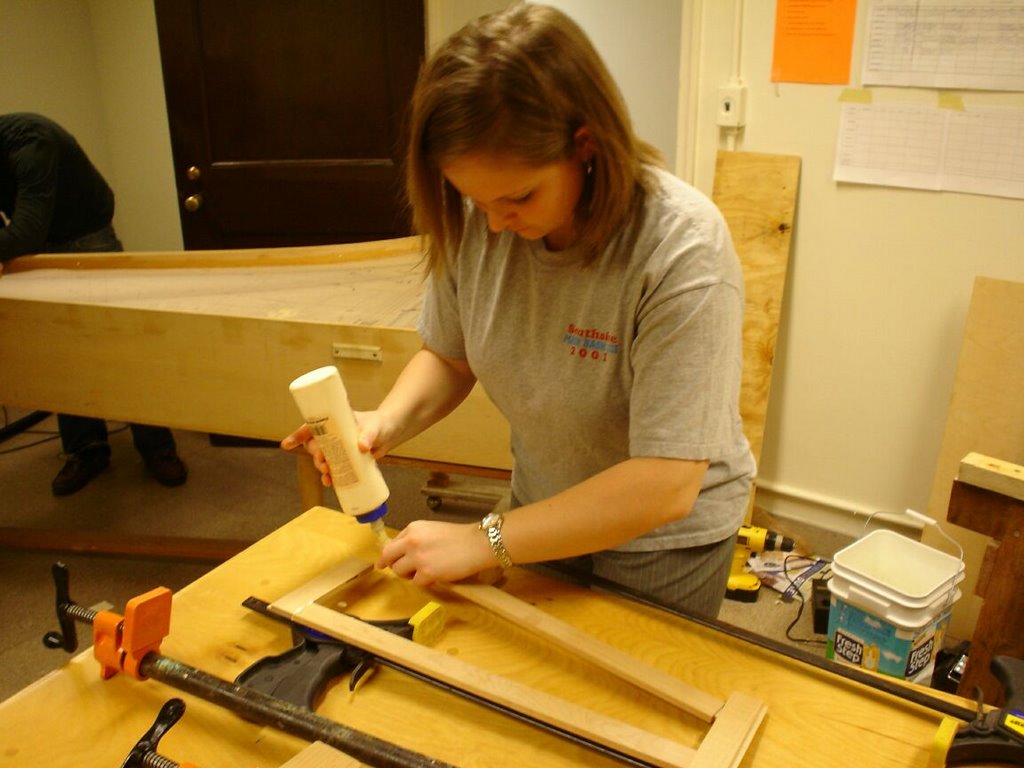
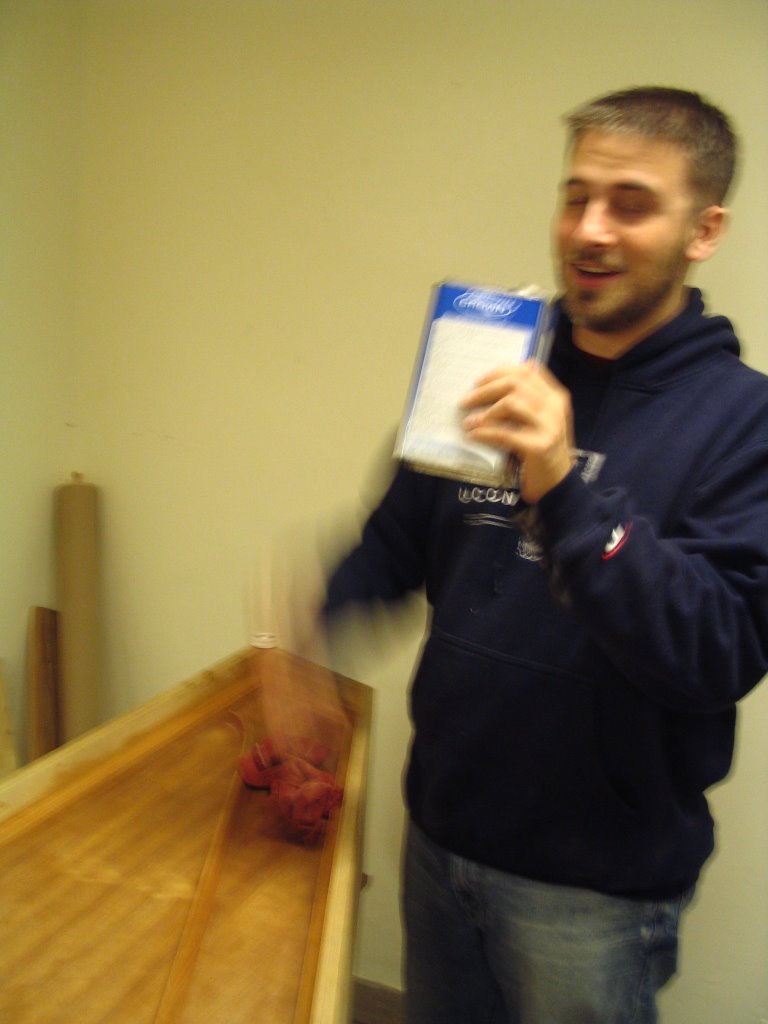
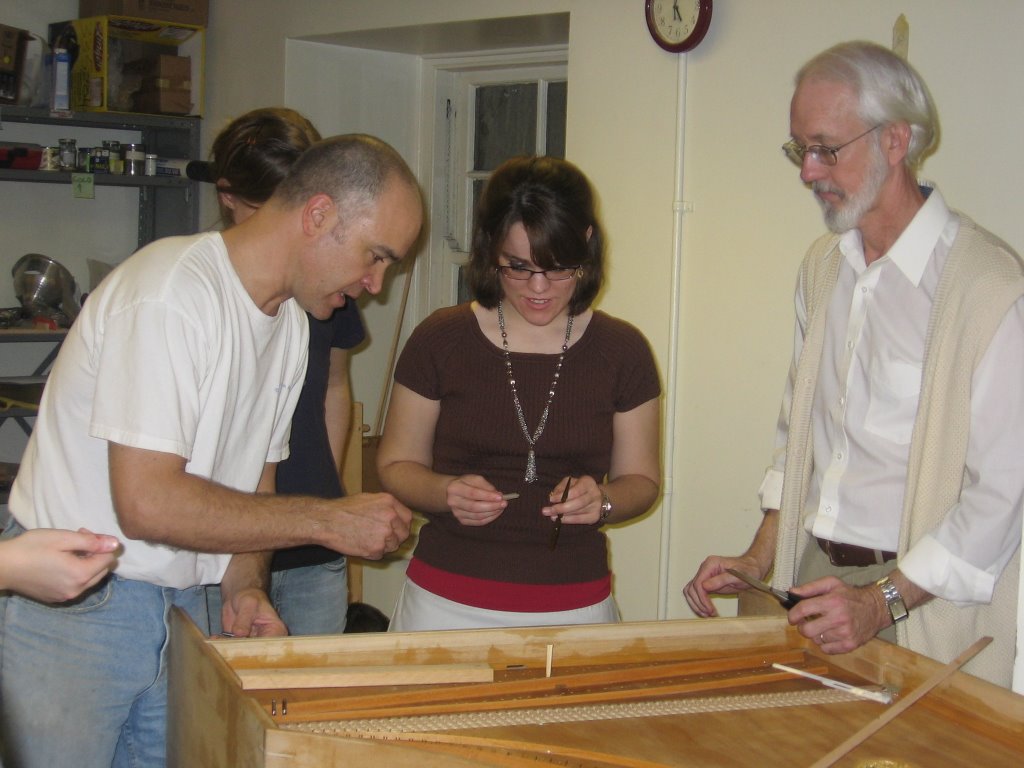
We plucked a bass string to hear the first note on our harpsichord! It was terribly out of tune of course, but it was recognizable.

Stringing, the sequel

We learned how to hammer in the pins - here goes the first string!
First string, part deux
Cranking and looping . . .

This screw gave everyone a devil of a time. At least it was the wood's fault!
Learning to string . . .
Here is a closeup of the stringing - so far so good!
Darn that brass string! It keeps breaking!

Tuesday, November 28, 2006

pins

Before the instrument can be strung, all the hitchpins and bridge pins must be inserted. Here John is using a setting tool or punch to drive the 4' hitchpins to their proper depth.


This photo shows the black 4' hitchpins which have been bent back. This will keep the string loop in place.

The bridgepins will need to be trimmed.


Once the bridgepins are trimmed, they will be filed slightly to even and smooth the tops.

Monday, November 20, 2006

Happy Thanksgiving!

We had to brave this beast to go to harpsichord lab today. Does anyone know what this is? (It's about 2" long not including the legs.)

Jessica marks where the bridge pins will be installed on the 8' and 4' bridges. John S. explains: "The bridge pins hold the string in place against the bridge so the vibrations can be transferred to the soundboard. This also defines one end of the vibrating length of the string."

Angela planes part of the music desk.

John, Jessica, and Paul mark where the 8' hitchpins will be installed in the 8' hitchpin rail. John S. explains: "Iron hitchpins will be hammered in, and these pins will hold the looped end of the strings."

Elizabeth glues and clamps another part of the music desk.

Taking a moment to extol the virtues of family, food, and football before heading to Haydn Seminar.

Friday, November 17, 2006

Details, details


Here is the music desk being assembled.


And here Paul is Gundel Putzing one of the brass hand stops. These are used to turn the various registers on and off.


A finished handstop, polished to a fine luster.


Here Dr. Parkins assists with the placement of a gap spacer.

Wednesday, November 15, 2006

Spezial Putz

Metal polish "aus Deutschland!" Roman and Paul worked on polishing the hardware today.
There's a music desk hiding under all of those gluing clamps, we promise.

Monday, November 13, 2006

Casework

We are finishing up some details with the case with the hope that we can begin stringing the instrument soon.

Here Angela marks out the place for the spine plug. This covers a hole through which the registers can be removed if need be.

The plug is attached . . . .

And completed.

Jessica drills and countersinks the keyboard support battens. The keyboards will rest on these boards inside the case.

Wait! That's denatured alcohol!

Saturday, November 11, 2006

Harpsichord Clearing House

This is a great site: The Harpsichord Clearing House. There are detailed pictures of some of the historical instruments. The Italian harpsichord near the bottom of the list, ca. 1650-1720, has pictures of a partially-dismantled keyboard that looks a lot like ours.

Tuesday, November 07, 2006

Hitchpin rail

The next step was to attach the 8' hitchpin rail to the bentside area of the case. This rail will hold pins which will hold the looped end of 8' choir of strings. The clamping required both downward pressure (the orange or black clamps) and pressure against the inside of the case (the wooden parallel jaw clamps).

Now excess glue was removed.


Jessica spreads glue on the molding for the spine.


Here Roman and Paul attach that piece to the instrument. Its function is mostly ornamental, completing the continuous decoration around the soundboard.


Once the molding was attached, the nameboard was next. This piece separates the keywell from the rest of the instrument, and adds strength to the wrestplank.


John adds the cap molding to the top of the nameboard.