Hitchpin rail
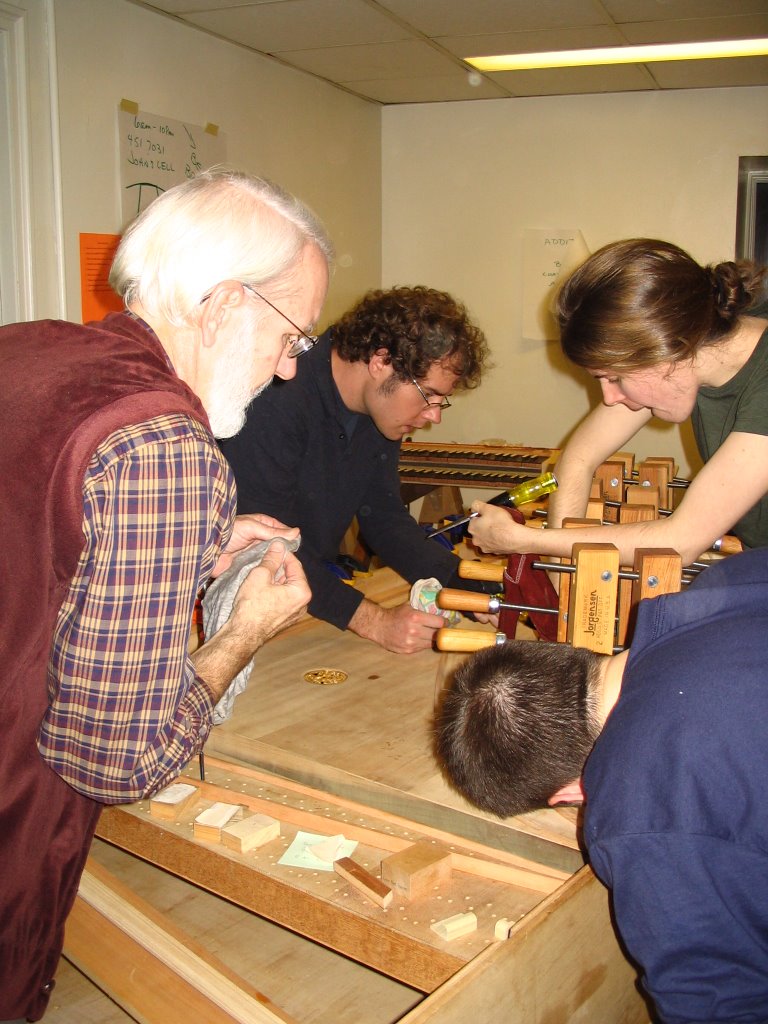
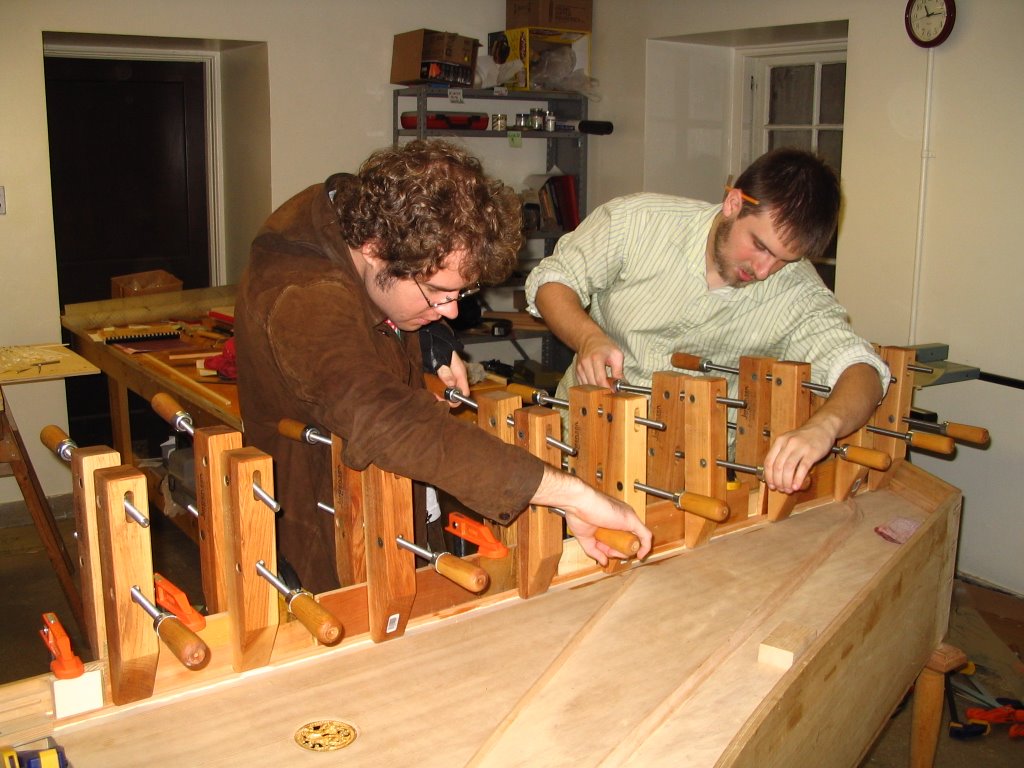
 The next step was to attach the 8' hitchpin rail to the bentside area of the case. This rail will hold pins which will hold the looped end of 8' choir of strings. The clamping required both downward pressure (the orange or black clamps) and pressure against the inside of the case (the wooden parallel jaw clamps).
Now excess glue was removed.
Jessica spreads glue on the molding for the spine.
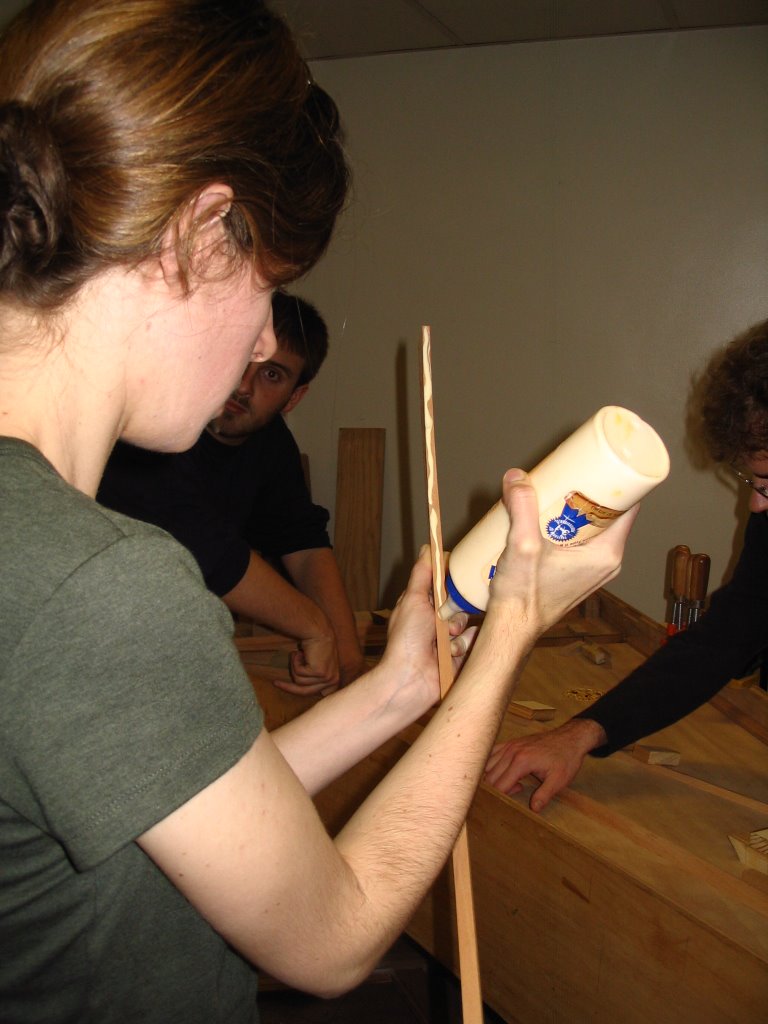
Here Roman and Paul attach that piece to the instrument. Its function is mostly ornamental, completing the continuous decoration around the soundboard.
Once the molding was attached, the nameboard was next. This piece separates the keywell from the rest of the instrument, and adds strength to the wrestplank.

John adds the cap molding to the top of the nameboard.

posted by John S at
7:43 PM
![]()

0 Comments:
Post a Comment
Subscribe to Post Comments [Atom]
<< Home