Sunday, March 20, 2011

Le Diable Bleu debut


Here is Le Diable Bleu in the chancel of Duke Chapel on the day of the debut recital by University Organist Dr. Robert Parkins.


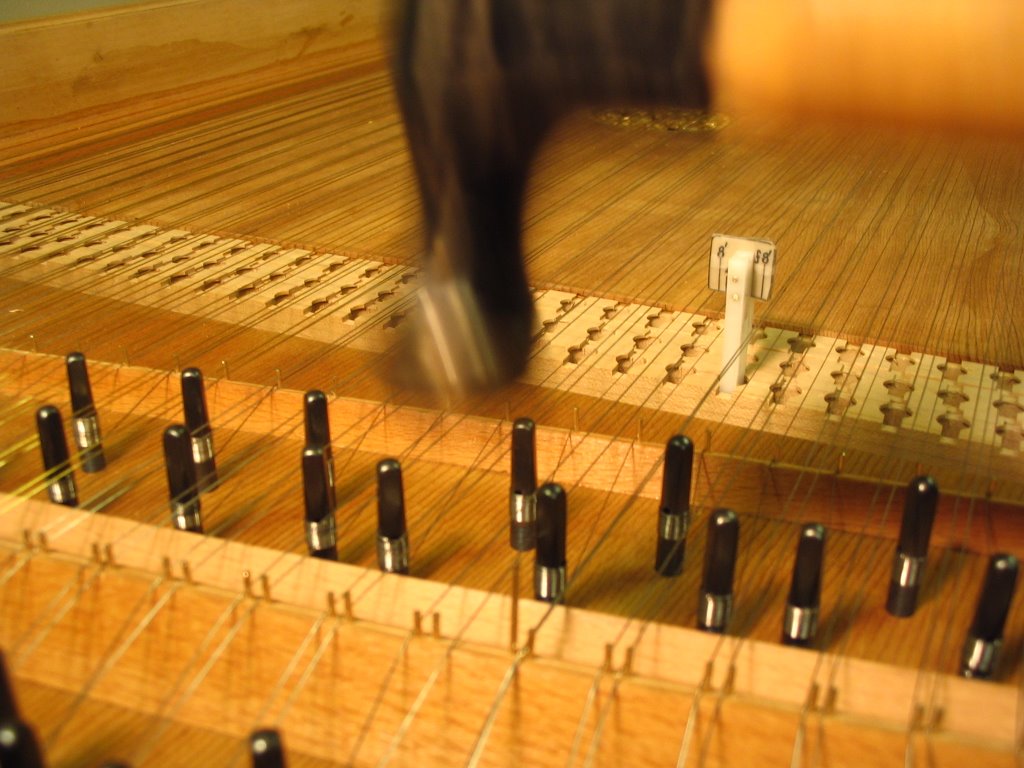
Dr. Parkins warms up pre-recital.


The name batten was the last thing to be added to the instrument. I need to thank Robert at Body Billboards of Durham, NC, for the wonderful silk screen work. It was a fitting final touch.


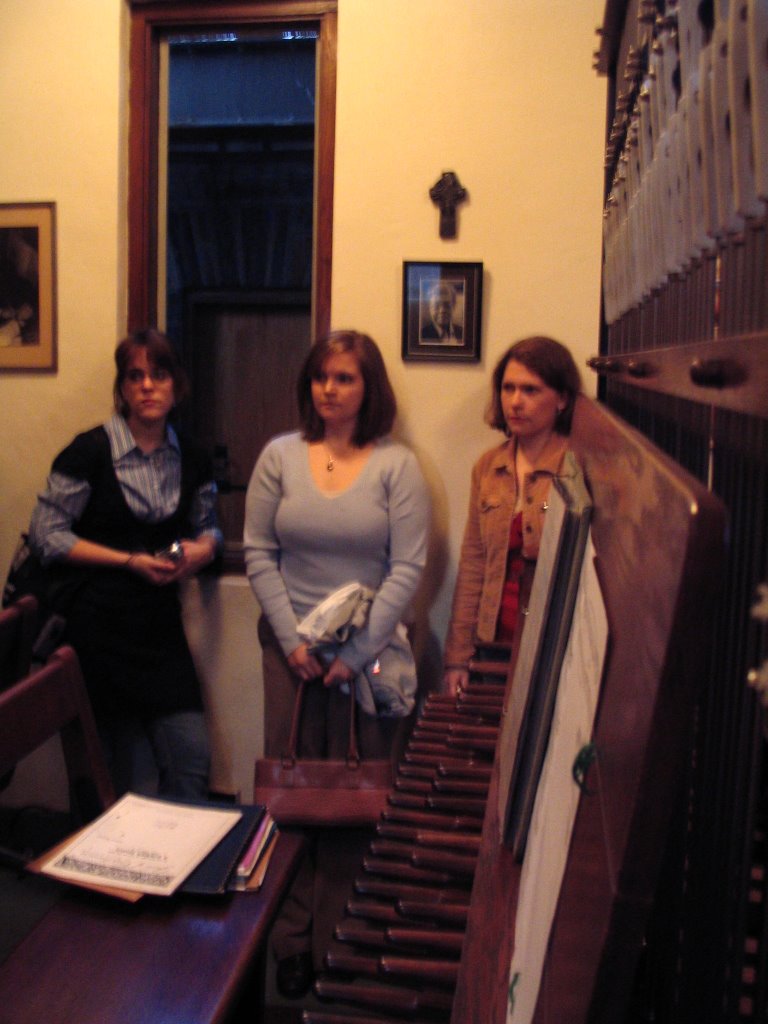
Greg Abernathy, who donated the Hubbard kit to the Duke Music Department on behalf of his late father, was on hand with his wife Tara and their son to hear the first public performance of Le Diable Bleu.


Here is the program from the program.


Sunday, November 14, 2010

The Stand

Here is the decorative stand for the harpsichord with its six turned legs. It has had three coats of paint, and will receive the same attention with sanding as the instrument did. The number of curved surfaces makes this a time consuming task. (The stand is currently upside down.)


Here are some feet to add to the stand so the stretcher does not sit on the ground. I turned these on the lathe, and they have had their first coat of paint.


Here is a foot being fitted.

Tuesday, September 22, 2009

Finishing, but never seeming to end

Here I am using pumice and a rag soaked in water to remove the sanding marks left by the 600 grit sandpaper.


This is the bentside of the case. You can see the dull finish left after the pumice treatment, and the shiny finish caused by the application of thinned linseed oil.


The finish reflects an image of the photo being taken.


The case will receive several coats of linseed oil.

Wednesday, September 09, 2009

More coats


I am giving Le Diable Bleu some top coats using a sprayer, giving me only "orange peel" to sand smooth rather than brush strokes.


The inside of the case also needs paint. I have used paper and masking tape to protect the soundboard from overspray.


After the paint has had a day to dry, the surface is smoothed with 400 grit wet or dry sandpaper. The water helps to suspend the dust generated so it will not clog the sandpaper.

After the final coat of paint, I will use 600 grit paper for a very smooth finish.

Every painted surface will have this treatment.


(photo credit: Mary Ann Manconi)

Wednesday, August 12, 2009

Le Diable Bleu awakens


After some rest, the harpsichord is receiving more painting. The original color resembled something better suited for a 1962 Impala, so a better blue has been found.

The other blue still served as a good undercoating. The case has about five coats of paint, not including the priming layer. Each layer is sanded smooth, and another layer is applied. You can see all the small parts which will need painting--cheeks, plug, jack rail, etc.


The plywood case bottom had begun to delaminate, so sections had to be repaired. In this photo, patches replaced damaged layers of the bottom. The tail end needed the most repair for some reason.

Friday, March 30, 2007

Tree of the Season

Here's a beautiful tree to continue the tradition of that gorgeous orange tree from October 2006! Duke Gardens, 3/30/07.

Sanding and our debut

John demonstrates how to sand.

Angela does some damage.

John sands the edges and hard-to-reach corners by hand. The sides had only had one coat of paint so far, so the sanding makes it look awful, but it leaves the surface perfectly smooth and free of brush strokes for the next coat.


Also, we didn't take any pictures at the event, but many thanks to John for organizing an informal debut for our harpsichord. Thank you, those of you who came to see and hear. The program is below.

Harpsichord Recital, March 6, 5:30pm

Sonata in F: Largo, Georg Telemann

- Karen Cook, recorder, and John Santoianni, harpsichord

Partita in B-flat major: Praeludium, J. S. Bach
- Angela Mace

Prelude in C minor, WTC I, J. S. Bach
- Elizabeth Terry

Chaconne in G minor, Louis Couperin
- Robert Parkins

Les tendres plaints, Jean-Philippe Rameau
- John Santoianni

Le Réveille-matin, François Couperin
- Jessica Wood

Tuesday, March 06, 2007

More case work

We are using a time-honored method of filling in dents and dings in the wooden case--Bondo! After the filler cured, we use a sander.


Here Paul sands the bentside.


Two coats of primer were put on and sanded smooth. Karen sands the spine. We attached the sander to a vacuum to keep the dust to a minimum.


Here a technique is used to sand the top edge of the case. The board spans the case, and the sandpaper smooths the top and makes it perpendicular to the sides.

Battens span the front and rear of the lid flap as well as the "wing" portion of the lid for support and strength. Here Elizabeth and Paul attach one of the battens using their fine clamping skills--and are cleaning up as they go.

Friday, February 23, 2007

Casework

Now that the instrument is actually playing (both 8' sets of strings), Roman spends some time tuning.


Normally, we would have completed the case and done all the painting before stringing and voicing the instrument. Since it was preferable to make sure that the builders got some voicing experience, and it was unclear if we could get the entire instrument done before the end of the academic year, we chose to work slightly out of order.

Before we can start painting the case, we must prepare the various pieces. Since the lid of of veneered plywood, we need to cover the edges. Here Karen is attaching an edging to the flap of the lid. The edging is heat sensitive, and the iron melts the glue on the underside.


The edging is just slightly wider than the wood, so we sand the excess off. This produces a perfect edge.


One more detail--the name batten must be attached. Roman works on the three countersunk holes needed. The name batten will be attached to the name board which is the vertical piece at the back of the upper manual. The space the name batten covers allows the keyboards or individual keys to be removed.


Someone is flauting the "no open toed shoes" rule!

Friday, February 16, 2007

Jacks and Jackrail

The jackrail keeps the jacks from flying out of the instrument. It also determines the keydip--the amount of downward travel the keys will have. Here Angelaa bastes layers of felt together which will go on the underside of the jackrail.


Here Jessica does some voicing on a plectrum. The thinning of the plectrum is done on the underside. You can see her holding the jack upsidedown.


The jacks are all too long. We need to shorten them by cutting off the tops. After careful measuring to determine the proper keydip, Karen uses the tablesaw to trim all the jacks. Note the ear and eye protection.


You can see the black mark on the jack which shows where the cut will be.


Here Roman is inserting a woven felt damper in a jack. The felt must be low enough to stop the vibrating string when the jack is at rest, but not so low that the plectrum cannot slip under the string after a note is played. About 1/32 of an inch is needed. The felt is cut in long strips which makes it easier to insert in a slot on the side of the jack. The strip is then trimmed off and the jack is tested and adjusted as needed.

Friday, January 26, 2007

Voicing

We have begun to voice the harpsichord. First, we assembled the jacks by attaching their tongues, and plectra, and then adjusted them to be the appropriate height. Next, we thin the plectra (also called quill) to get the best sound and volume.

Karen uses a surgical scalpel for this very fine work. The jack is held upsidedown since we only trim on the underside of the plectra.

We voice by ear, but also by eye. The plectrum should bend evenly and gently from the base to the tip. It looks like this one might need a bit more attention.

Sunday, January 07, 2007

Pinning and attire

The last of the pins in the nut are being set in this series of photos. Earlier on this blog you saw the 4' pins being set, but from the other side. Here is a view from the keyboard end.

While the pins in the bridge were set using a template, these pins (as well as the 4' pins) are set individually. Here a tool is used to move the 8' string to the left . . .


. . . until it lines up with the appropriate 8' line on our "marking out gauge." (The gauge is attached to a jack. The two 8' strings are marked out, and then the jack is moved to the next slot in the register.) Once we are satisfied with the pin position, an indentation is made with the point of our tool,


a hole is drilled for the pin,


and the pin is hammered in. The following photo shows the last nut pin to be placed.


Here is a shirt which could have been worn in our harpsichord shop! Well, we may not have needed the chain saw.

Monday, December 18, 2006

End of semester excursion

Sam Hammond, University Carilloneur, invited members of the class to tour the bells in the tower of Duke Chapel. Here Sam describes the action, which is similar to a mechanical action pipe organ.


This photo shows the clavier. The layout is just like any other usual keyboard instrument, with the exception that the keys are very widely spaced. There is also a pedalboard.


After hearing the 5:00 recital up close, we hiked to the top of the tower to enjoy the view. The sky was clear, and we could easily see downtown Durham and the entire campus.


The sun sets over Cameron Indoor Stadium.