Pinning and attire
The last of the pins in the nut are being set in this series of photos. Earlier on this blog you saw the 4' pins being set, but from the other side. Here is a view from the keyboard end.
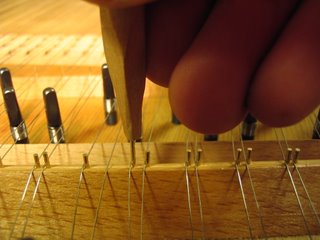
While the pins in the bridge were set using a template, these pins (as well as the 4' pins) are set individually. Here a tool is used to move the 8' string to the left . . .

. . . until it lines up with the appropriate 8' line on our "marking out gauge." (The gauge is attached to a jack. The two 8' strings are marked out, and then the jack is moved to the next slot in the register.) Once we are satisfied with the pin position, an indentation is made with the point of our tool,
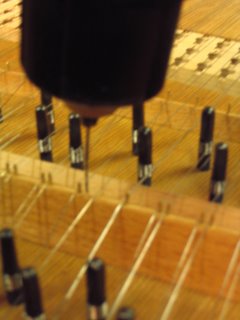
a hole is drilled for the pin,

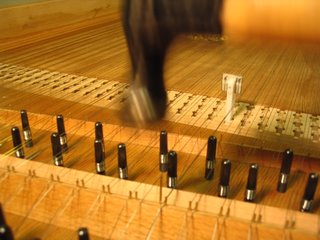
and the pin is hammered in. The following photo shows the last nut pin to be placed.

Here is a shirt which could have been worn in our harpsichord shop! Well, we may not have needed the chain saw.

While the pins in the bridge were set using a template, these pins (as well as the 4' pins) are set individually. Here a tool is used to move the 8' string to the left . . .

. . . until it lines up with the appropriate 8' line on our "marking out gauge." (The gauge is attached to a jack. The two 8' strings are marked out, and then the jack is moved to the next slot in the register.) Once we are satisfied with the pin position, an indentation is made with the point of our tool,

a hole is drilled for the pin,

and the pin is hammered in. The following photo shows the last nut pin to be placed.

Here is a shirt which could have been worn in our harpsichord shop! Well, we may not have needed the chain saw.


0 Comments:
Post a Comment
Subscribe to Post Comments [Atom]
<< Home