Gluing in the Soundboard
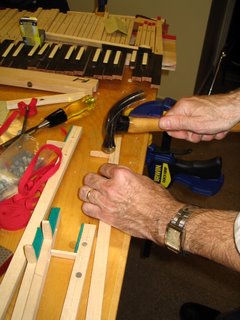
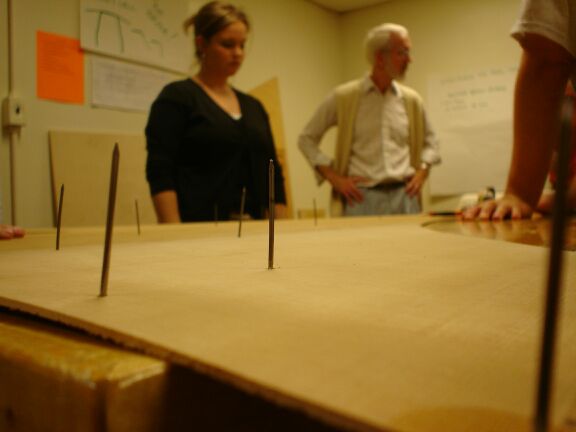
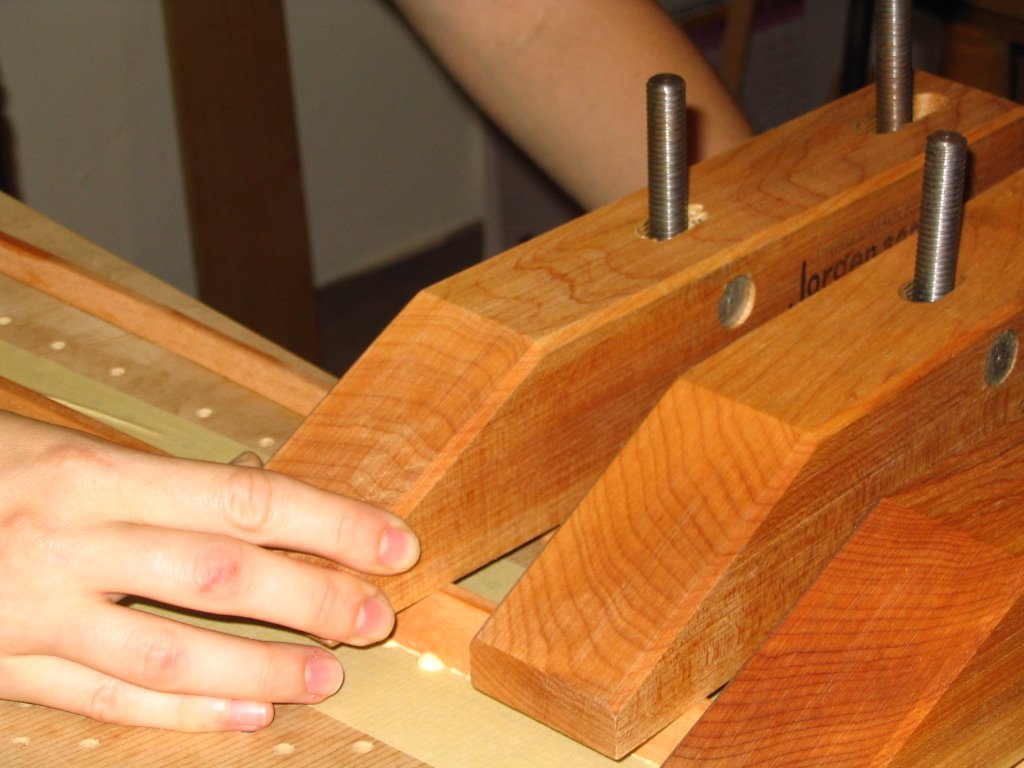
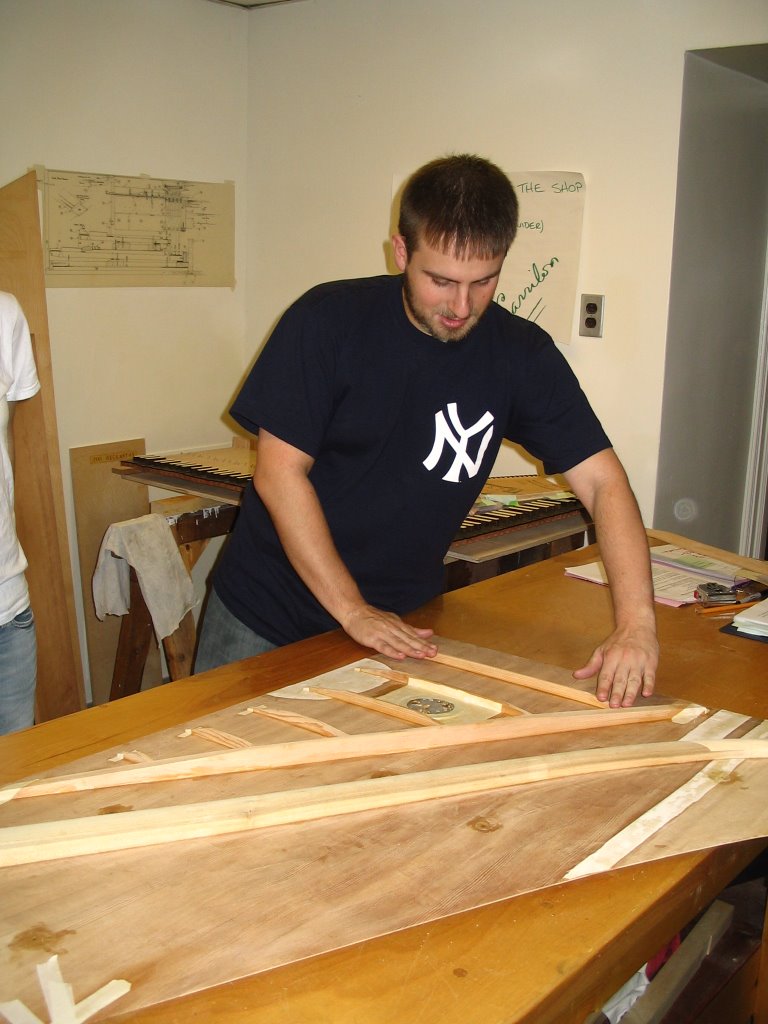
 Three dowels inserted through the bottom of the case were used to make sure that the soundboard was bowed up just a bit when it was glued in. Here Dr. Parkins risks his livelihood as a performer by holding onto a nail in a cleat being attached to the bottom. (He avoided any injury)
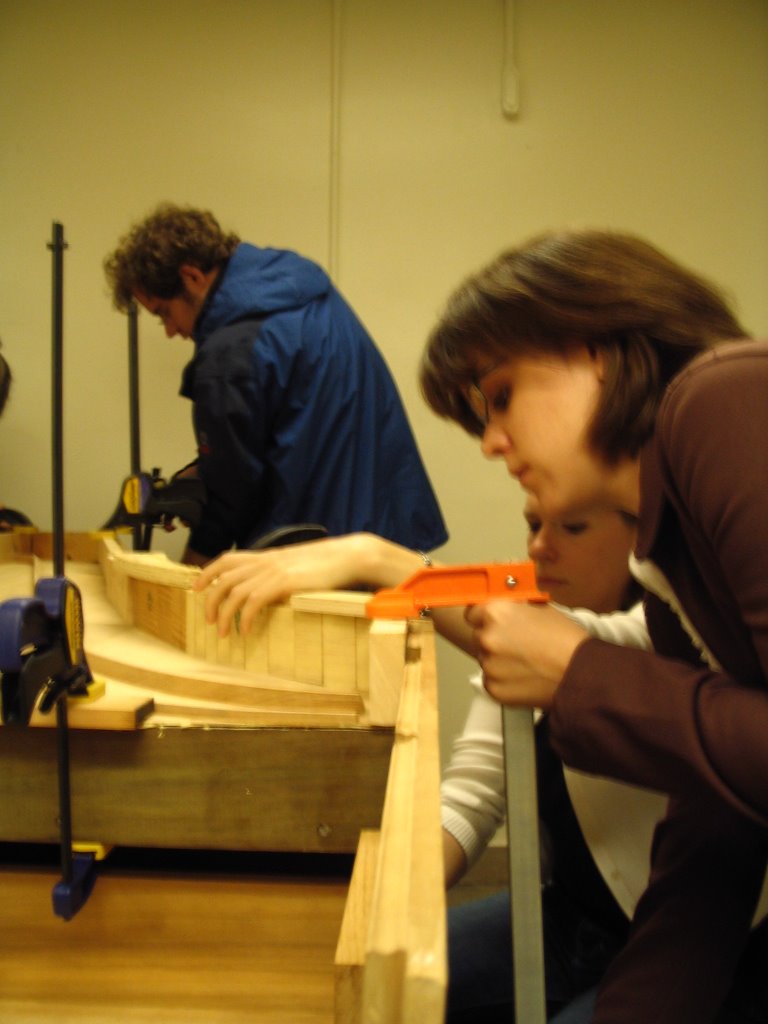 Gluing in the soundboard called for many hands, many clamping boards, and many clamps. The boards are taller than the sides of the case so the clamps can squeeze the soundboard onto the liners which go all around the inside of the case.
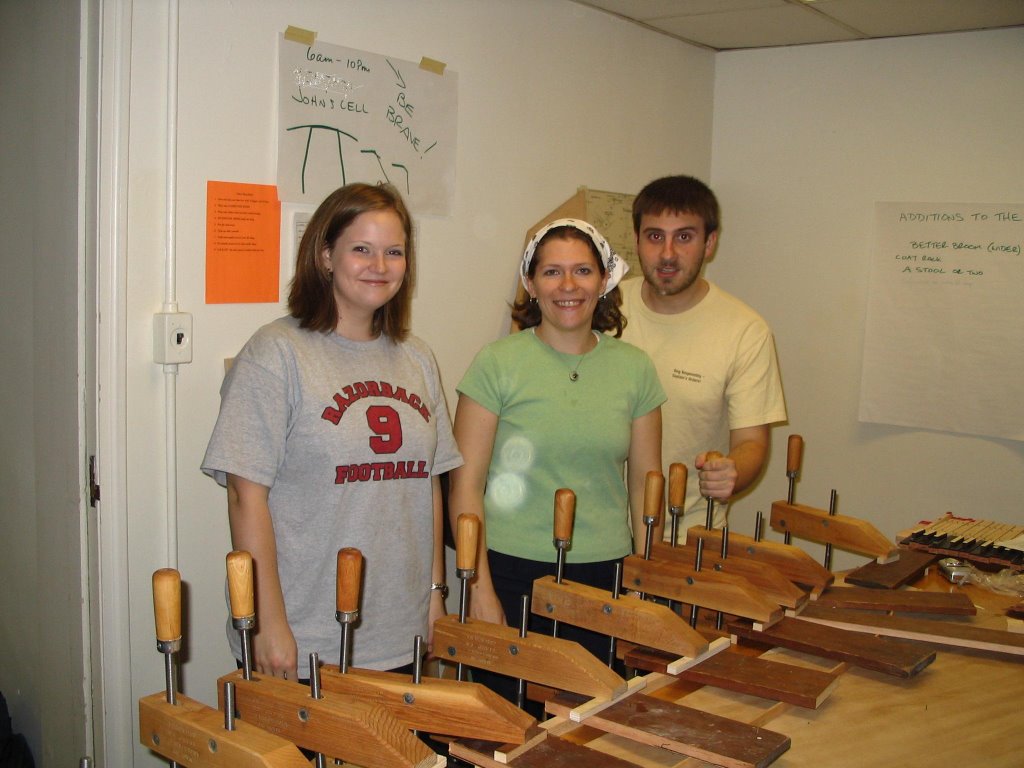
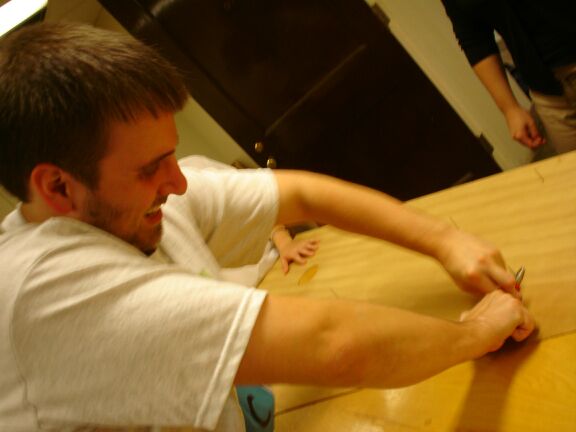
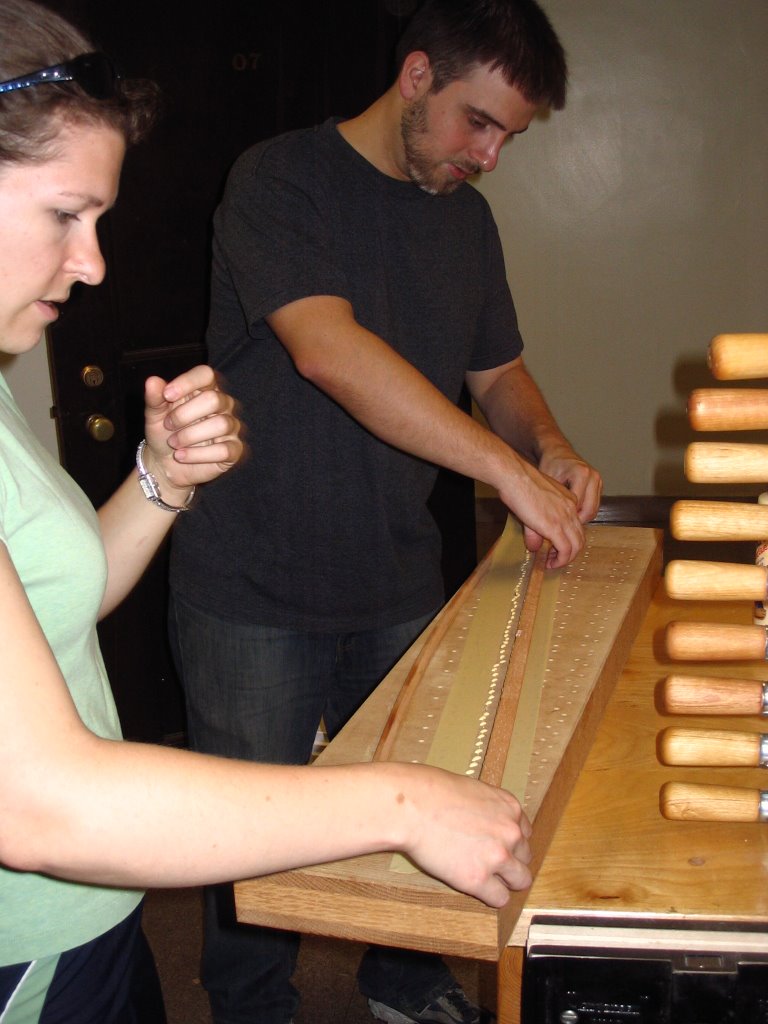
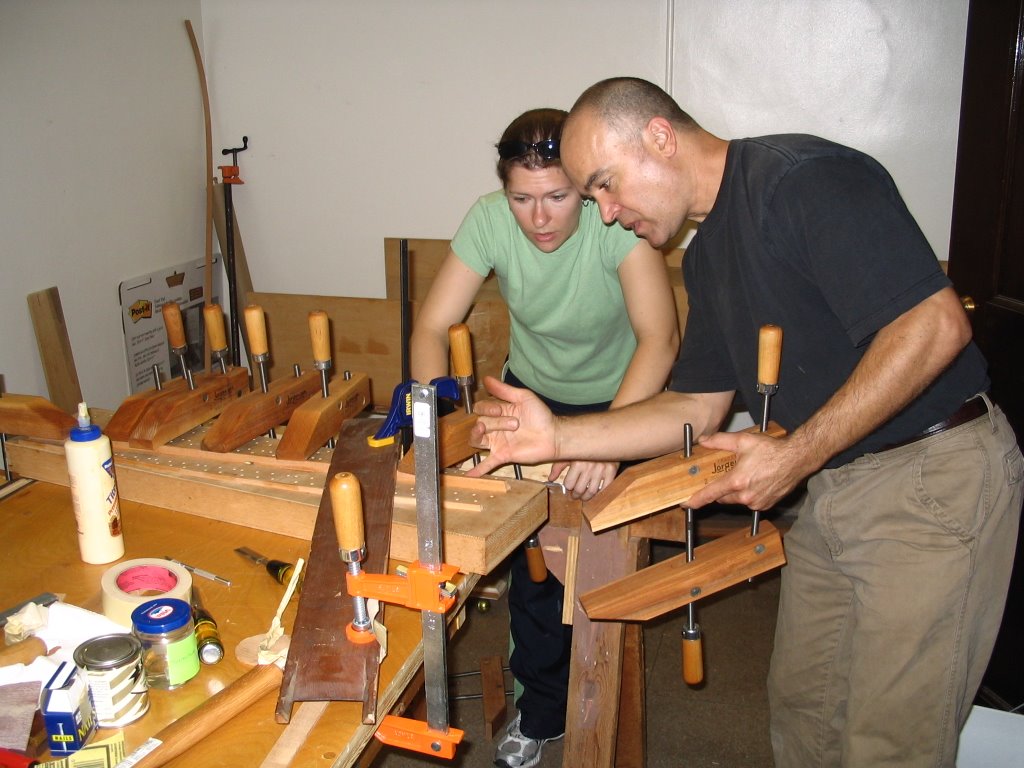
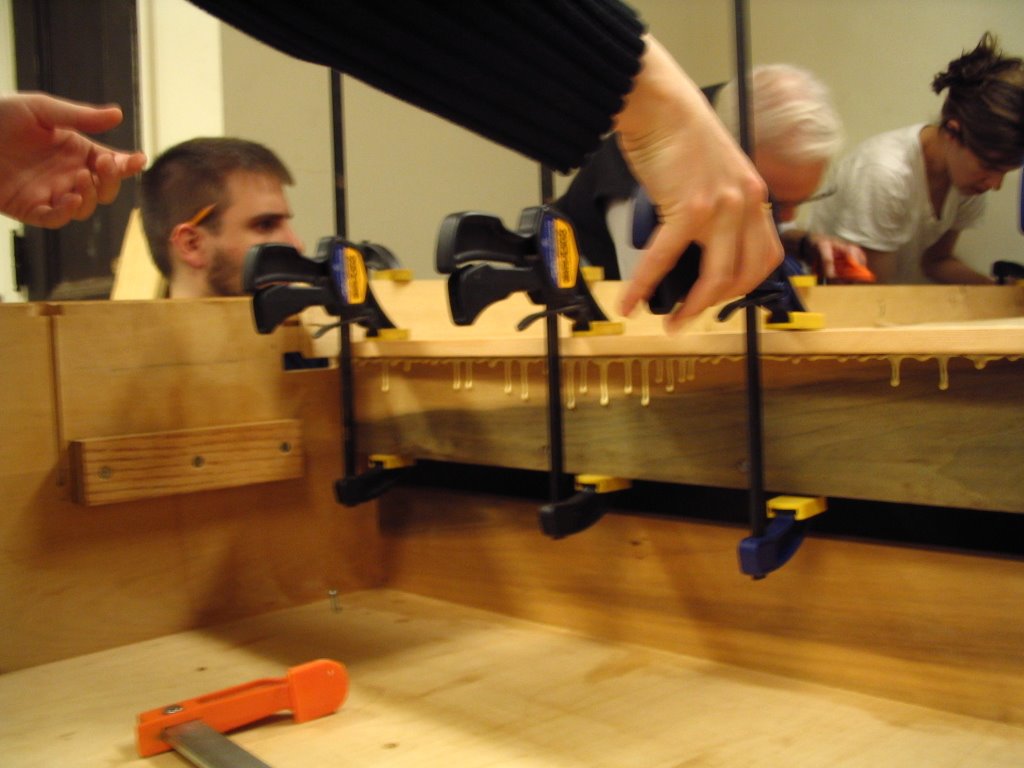
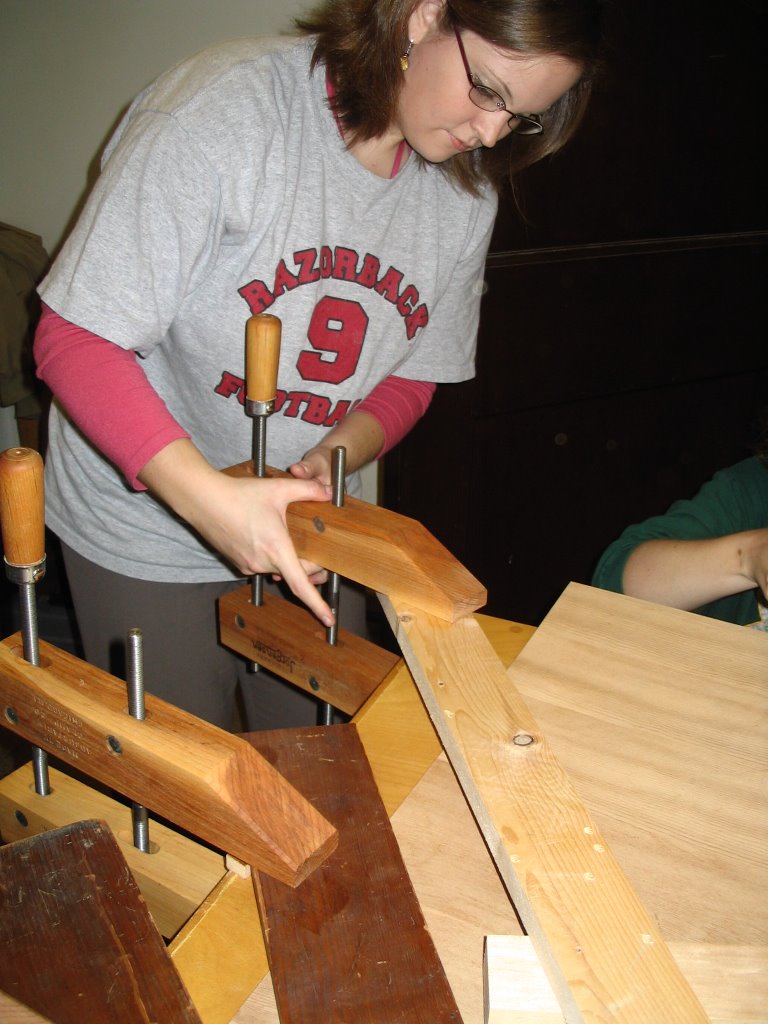
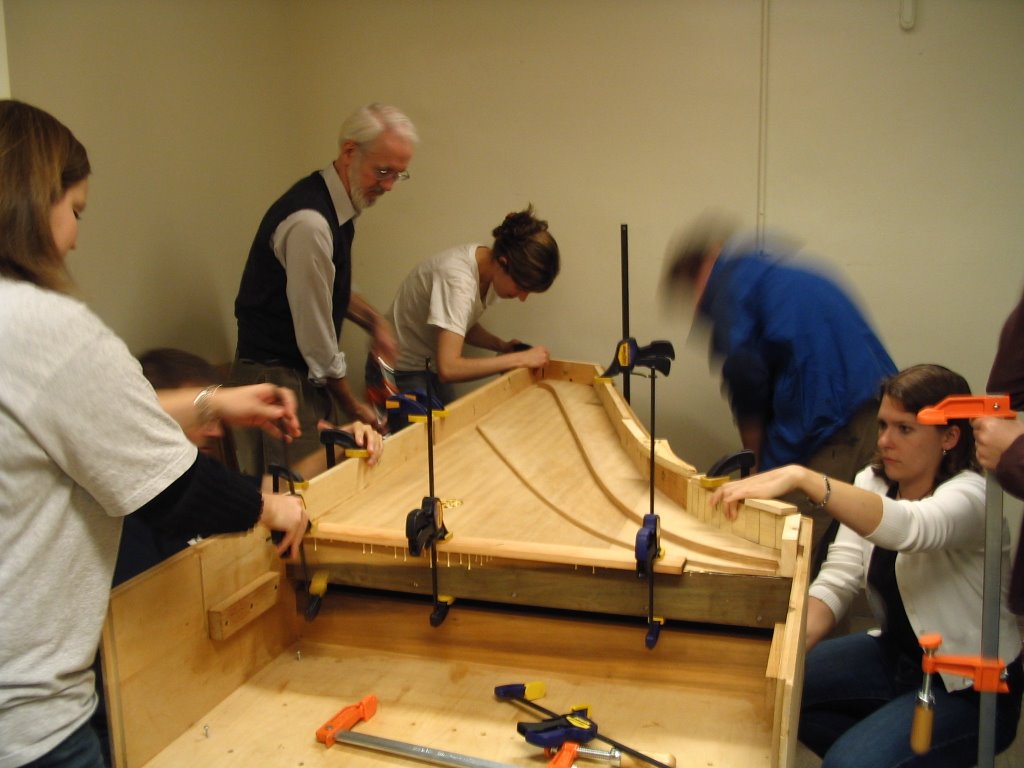
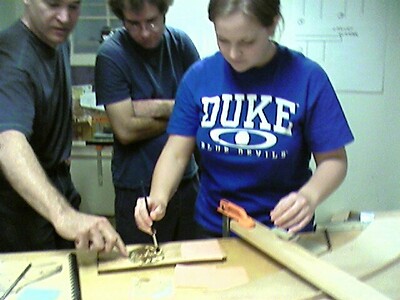
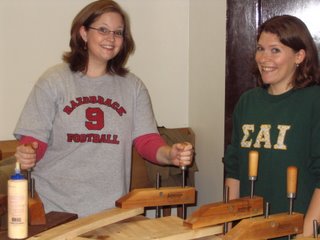
Each person had a section to work on--to clamp as well as clean up.
This view shows the keyboard end.
With the keyboards in place, we can start to imagine how it will look completed.

posted by John S at
3:53 PM
0 Comments
![]()
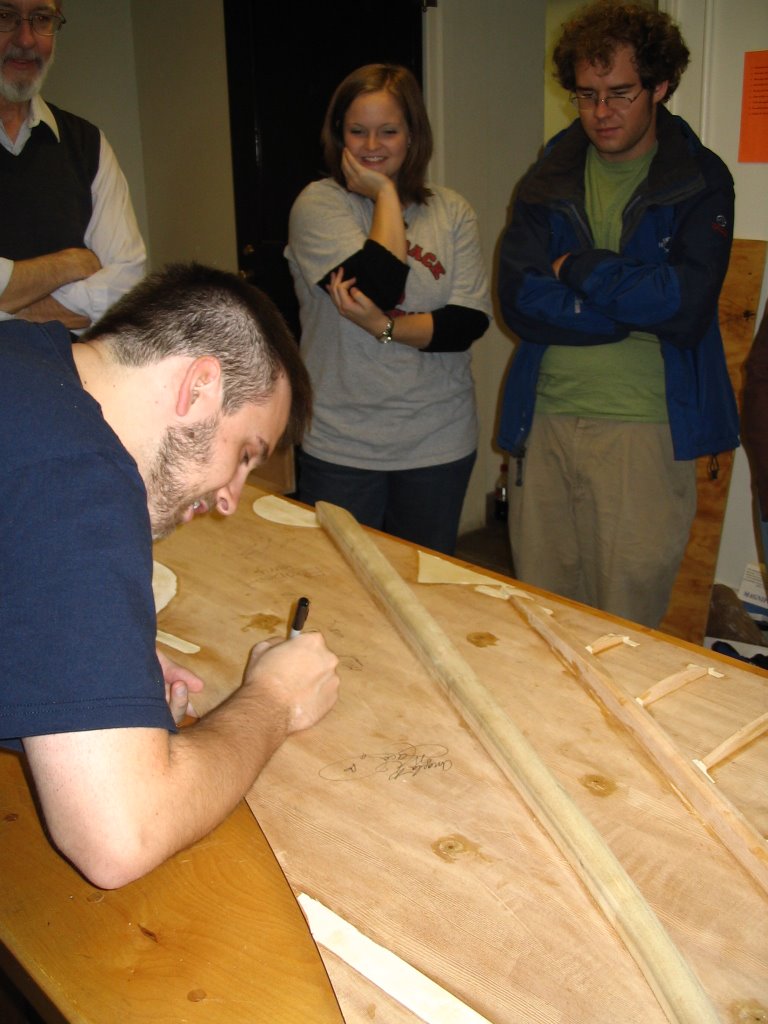


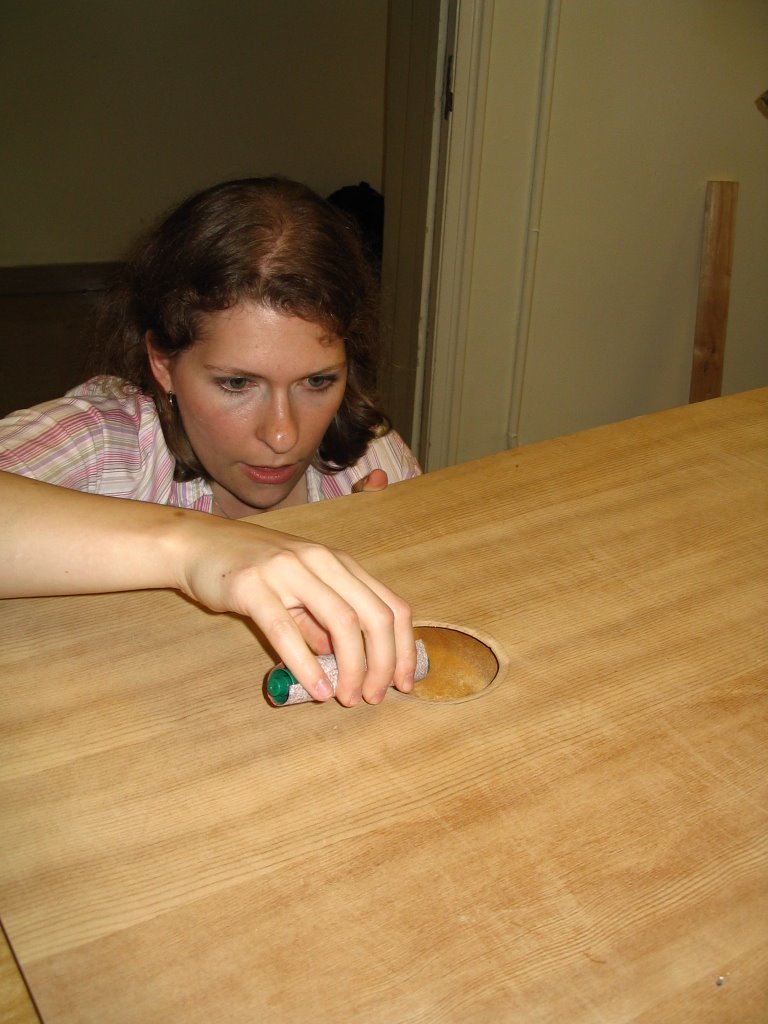


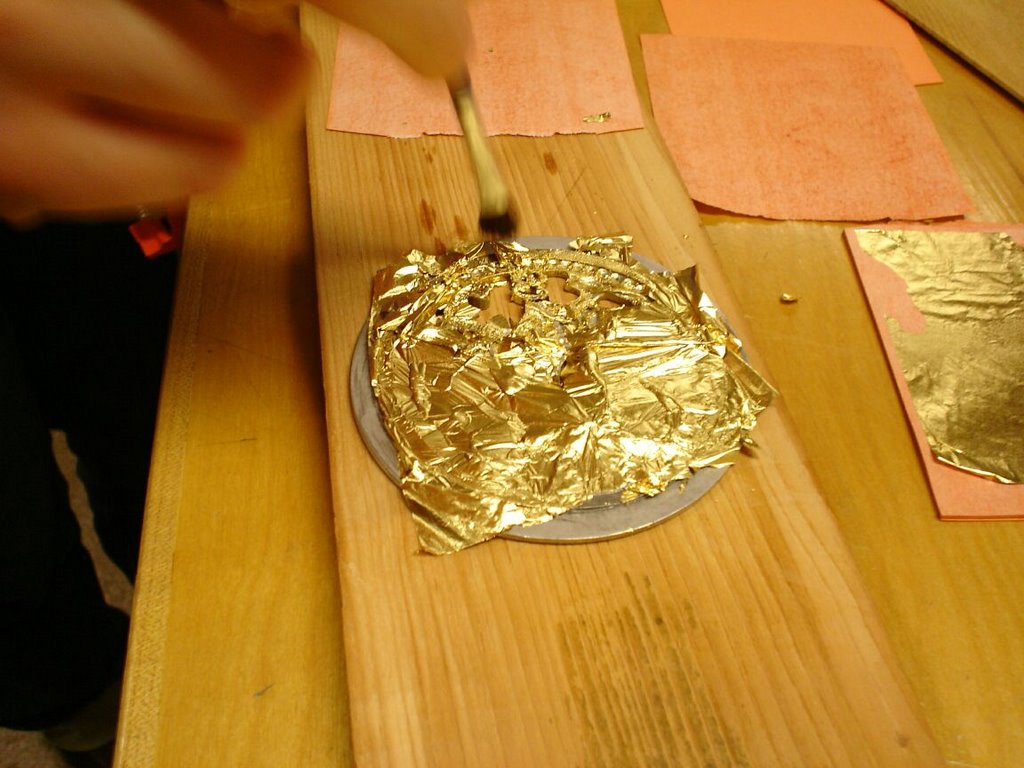
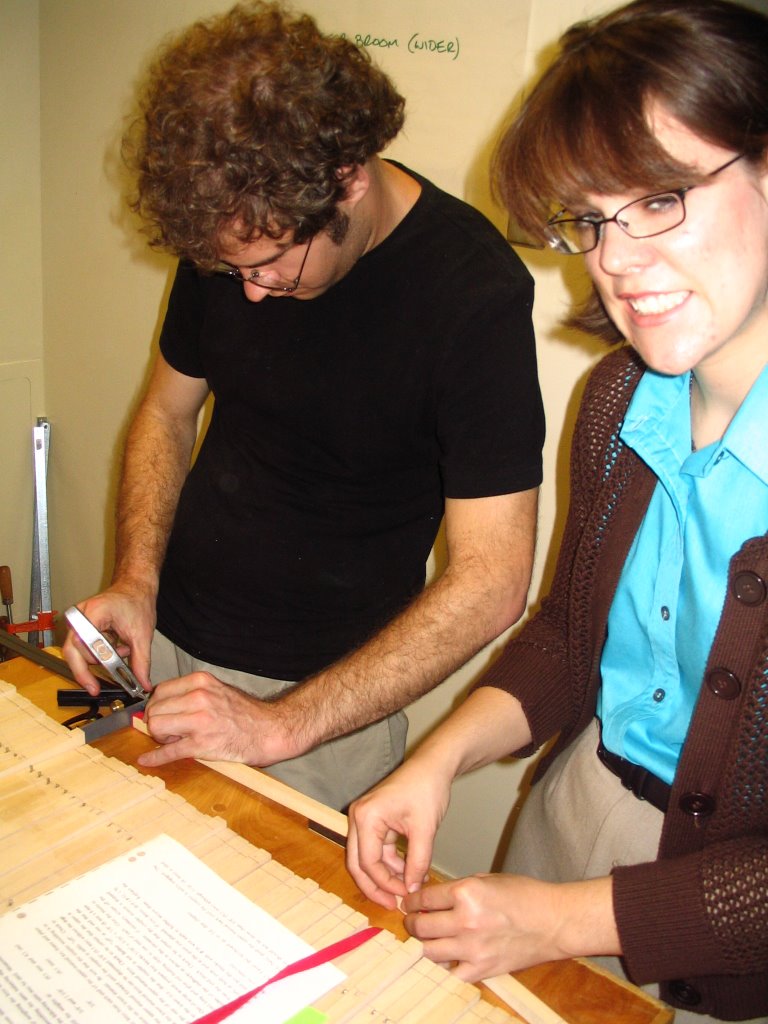
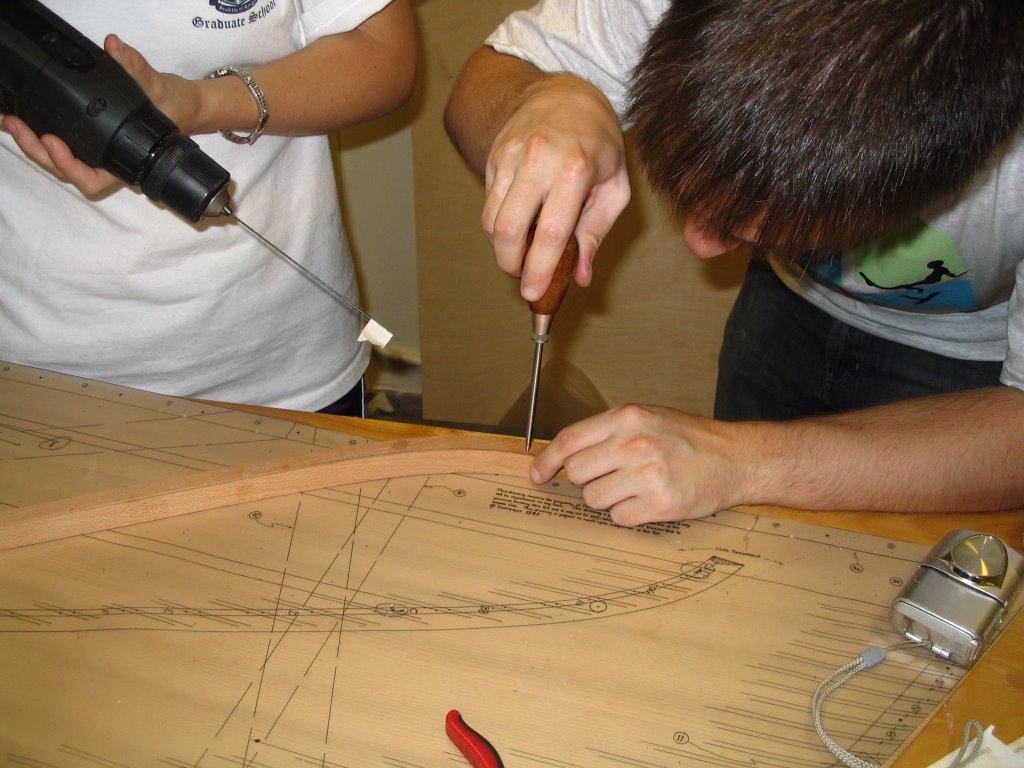
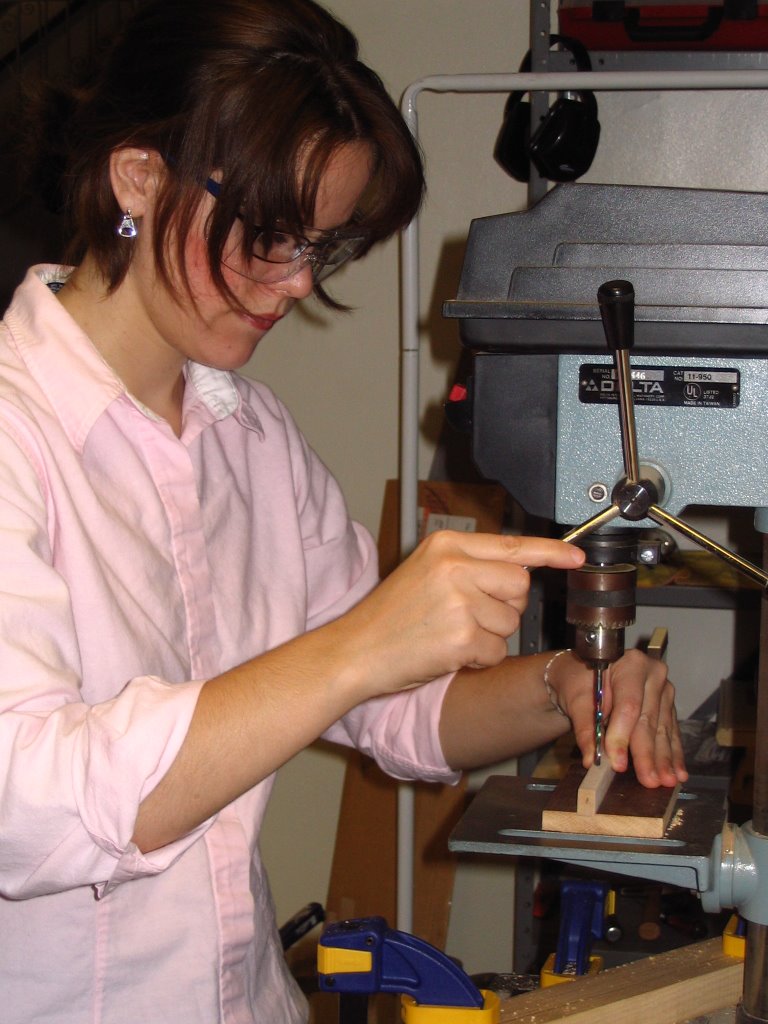
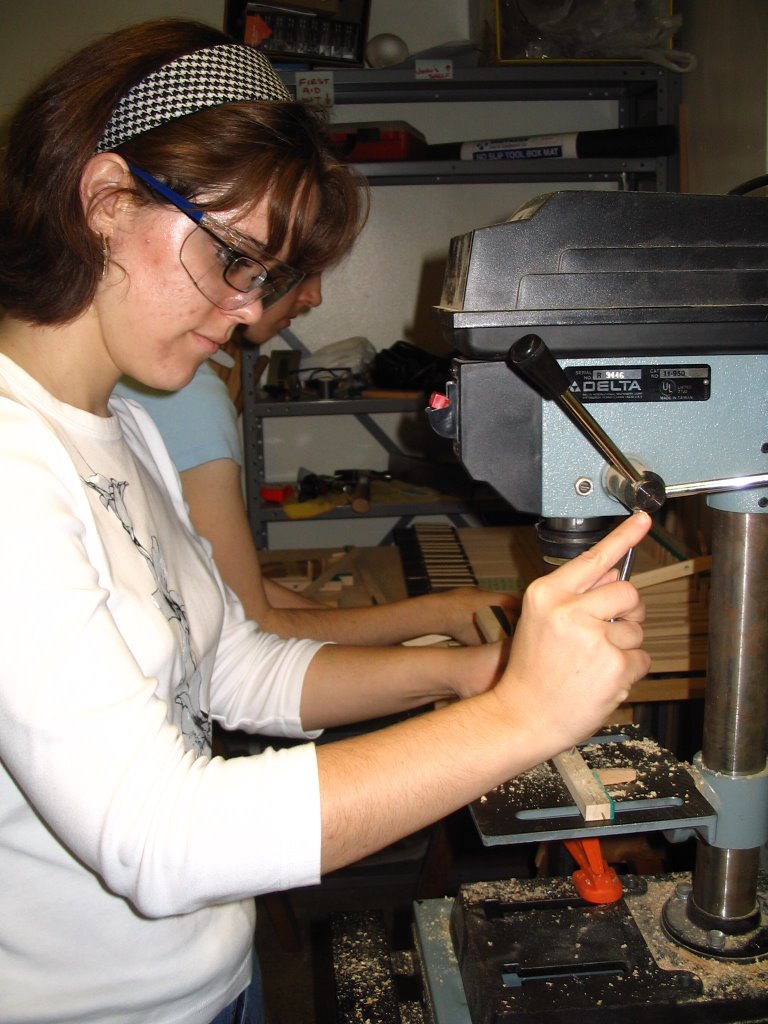
 Then the place for the hole is marked with an awl. A measuring stick was made to show the places for the weights. Each sharp key gets two weights and each natural gets one.
 Dr. Parkins hammers the round lead weights into the key lever. If the weight is loose in the hole, the top of the lead is splayed out a bit to make it snug.